Basic Hamburgers

While I am not a huge burger fan, my family loves them.  Here is my typical burger recipe:

FullSizeRender (14)

Ingredients

1-1/4 pound/s ground beef

1/4  yellow onion grated

1/2 tbsp worcestershire sauce

1/2 tbsp soy sauce

1/2 tsp ground mustard

1/2 tsp Montreal seasoning

Salt and Pepper

FullSizeRender (15)

Directions

Mix all the ingredients thoroughly and form into patties.  I like to make the patties thin and not have them puff up on the grill so I flatten them with my fingers.  Grill to desired doneness.  We like them medium so for approximately four-five minutes on each side, flipping when nicely browned.

Results

Everyone was very pleased with the burgers.  Brent and Grace are especially fans.  I thought they could be more flavorful.  Maybe a better quality or a more fatty beef? I used organic with a lean-to-fat ratio of 85:15. Open to any suggestions?

“Cajun” Rice

Image-1 (1)

This dish I made is neither based on a traditional Cajun Dirty Rice nor Jambalaya.  It can perhaps be considered a bastardized version of the two.  It is Cajun because I used Cajun spices and it came about because I had a few Johnsonville smoked sausages leftover and no buns, and I love rice.

Ingredients

3 cups dried white rice (I use Basmati)

chicken broth (whatever the amount you need to cook the rice based on the method you are using)

1 bay leaf

1 pound of shrimp

2 smoked sausages diced or sliced

1/2 white onion diced

2-3 sliced green onions

6 thai chile peppers seeded and diced (or any other chile or bell pepper if you prefer)

2 cloves diced garlic

handful of chopped parsley

sprinkle of turmeric (for color)

Cajun seasoning

Image-1 (2)

Directions

Cook rice according to stove top or rice cooker directions substituting chicken broth for water; add salt a pat of butter and a bay leaf.

Sprinkle the shrimp with Cajun seasoning and sauté in a pan with butter and olive oil until no longer pink for a few minutes on each side

Remove from pan and add the diced sausage

Add the onions and peppers for a few minutes

Add the garlic for 30-60 seconds

Remove from burner and add parsley and top with some extra Cajun seasoning and a sprinkle of turmeric

Add rice and mix thoroughly

Add Shrimp

Enjoy!

Results

This dish was delicious!  I brought it to friends’ last night to have with some Maryland crabs though it could certainly be a meal itself.  There were plenty of leftovers that are already gone!  I will definitely make this again-or some version of it.  The kids did not get to give their two cents because Grace was absent and Alec was too focused on the crabs.

Tomato Sauce with Italian Sausage and Mushrooms

FullSizeRender (13)Red sauce was one of the first things I learned how to make along with meatballs as a kid.  Over the years, my recipe has been modified and improved upon though tomatoes, onion and garlic remain the principle and unaltered components.  The key to a great sauce lies with the tomatoes.  I used to think that any can of crushed tomatoes would work as long as the seasoning is right, but with the advent of the Food Network there is no excuse for not knowing a good brand (like San Marzano) of whole tomatoes that you blend or crush yourself is essential.  This week, however, I had a ton of fresh tomatoes from the local farm so typically once or twice a summer I make the sauce from scratch.  I used to think that sauce from scratch was worth it only if you used the “right” type of tomatoes typically not the “beefsteak” tomatoes I ended up with.  This turned out to be completely untrue.

FullSizeRender (3)FullSizeRender (9)FullSizeRender (8)FullSizeRender (7)

Ingredients

6 six large “beefsteak” tomatoes

1 yellow onion diced

6 cloves of garlic diced (these were small cloves and we like a lot of garlic)

1 cup of dry red wine

1 cup of chicken broth

2 tablespoons of tomato paste (because of the extra wateriness of the fresh tomatoes)

1 bay leaf

1 teaspoon of oregano

1 teaspoon of crushed red pepper

1 teaspoon of dried rosemary

2 cups sliced baby bella mushrooms

1 package of Roma hot Italian sausage

Handful of fresh chopped Italian parsley

Handful of fresh chopped basil

To prepare the tomatoes

Drop one tomato at a time for approximately 60 seconds in rapidly boiling water.  After pulling out each tomato hold it under cold water and core the tomato with a knife.  Pull the skin off with your fingers.  You can also squeeze the tomato to get out excess juice and seeds.  After all the tomatoes are cored and de-skinned they can be pureed in a blender or food processor until smooth.  They are now ready for the sauce below.

Directions

Sauté mushrooms in butter and olive oil for approximately five minutes until tender but not mushy; remove from pan and set aside

Sauté hot sausage links until brown in pan with a bit of butter and olive oil; remove from pan and slice in small pieces (if you want or not)

Add diced onions to hot pan being careful not burn; turn down the heat if too hot and saute until slightly tender

Add diced garlic for 30 to 60 seconds

Add the wine to deglaze pan; cook down until wine is reduced by half

Add tomatoes

Add the chicken broth, tomato paste, bay leaf, crushed pepper, oregano, rosemary, basil, parsley and plenty of salt and fresh ground pepper

Finally, add the sausage and mushrooms and simmer for at least an hour or two before serving over your favorite pasta.  Pasta can be topped with fresh basil and parmesan.

FullSizeRender (11)FullSizeRender (13)

Results

The sauce was amazing as usual.  Since I have made this so often I wasn’t expecting anything but positive feedback from the kids and Brent, especially Grace since pasta is her absolute favorite.  Also, the sausage I use is a local Baltimore brand and very delicious.  With fresh tomatoes, basil, parmesan, etc..its hard to go wrong. However, my one concern is always the quality of the wine I use.  I cook with a lot of wine and always cook with what I would drink.  I keep leftover wine in the fridge and will use it within a month of opening though I believe you should actually use it within a week or even less?  I definitely need to break down and use a freshly opened bottle next time.

Along with a crappy grocery store, there are not a lot of ethnic food options here in Havre de Grace, MD. Actually, I don’t think there are any unless you count sushi?  I fell in love with spicy Thai food, however, while working in Elkridge, MD for “the government” and eating frequently at a restaurant called Little Spice.  This “government” job also took me to Honolulu, Hawaii various times where I had some of the best Thai food at the famous “Keo’s.”  Replicating Thai food was pretty daunting at first with all the unique ingredients, but I have been quite successful (in my opinion).  Here is a recipe very similar to a popular Thai dish I like to make called “Drunken Noodles” though the only difference is the Thai Pork Stir Fry is served with rice instead of noodles.  I have read many, many recipes for Thai pork and for drunken noodles and below is my own take on a very simple dish, which can be make with a variety of proteins, and vegetables though it always has a lot of spice that comes from Thai chili peppers and the funky flavor of fish sauce and soy.  I was inspired to make this dish this time around because I saw Thai chiles in my grocery store for the first time and was very excited.  Previously, I would use either dried chiles or jalapeños for the heat.

FullSizeRenderFullSizeRender (2)

Ingredients:

1 1/5 lbs. of pork sirloin (actually I just made this up though the pork was pre-sliced-a shortcut specifically for stir fry, but one that I don’t usually take.  However, it was a sufficient amount of pork for a family of four and for this recipe)

1/2 diced white onion (I have seen various types of onion used, but I used white because I had a half of one in my vegetable drawer #hatetowaste)

1 cup of chopped broccoli (I used broccoli because I had it and it is one of our favorite vegetables)

4-6 cloves of diced garlic  (this head was small so I used closer to six, but we also love garlic!)

6-8 Thai chilis (diced)

1 cup of chicken broth (I like a lot of juice but there are many recipes that omit the chicken broth)

1/4 cup of soy (all recipes call for soy and it is usually a two to one ratio of soy to fish sauce)

2 tablespoons of fish sauce

1 tablespoon of brown sugar (to balance out the saltiness of the two above ingredients)

1 tablespoon Sambal Oelek (my personal addition to add more spice and garlicky flavor)

1-2 teaspoons of lime (this can be added to the sauce or for garnish)

Basil (handful or more of sliced basil to top off dish)

Directions

Mix the chicken broth, fish sauce, soy sauce, sugar, Sambal Oelek and lime in a bowl and set aside.  Sautee the vegetables (onion, broccoli and peppers) for 2-3 minutes.  Add the pork and cook for another three minutes or so until you no longer see pink on the outside.  Add the sauce mixture to the pan and cook until it warms through and all the vegetables and pork are to your desired level of doneness.  I like the vegetables a bit more crispy (it is a stir fry) and the pork cooked to the perfect temperature of 145 degrees.  If you overcook pork in this house, the kids will let you know.  Top with as much basil as you like.  Authentic Thai recipes will call specifically for Thai basil, but I have yet to find it.  The regular works for us just fine in the meantime.

FullSizeRender (1)

Results

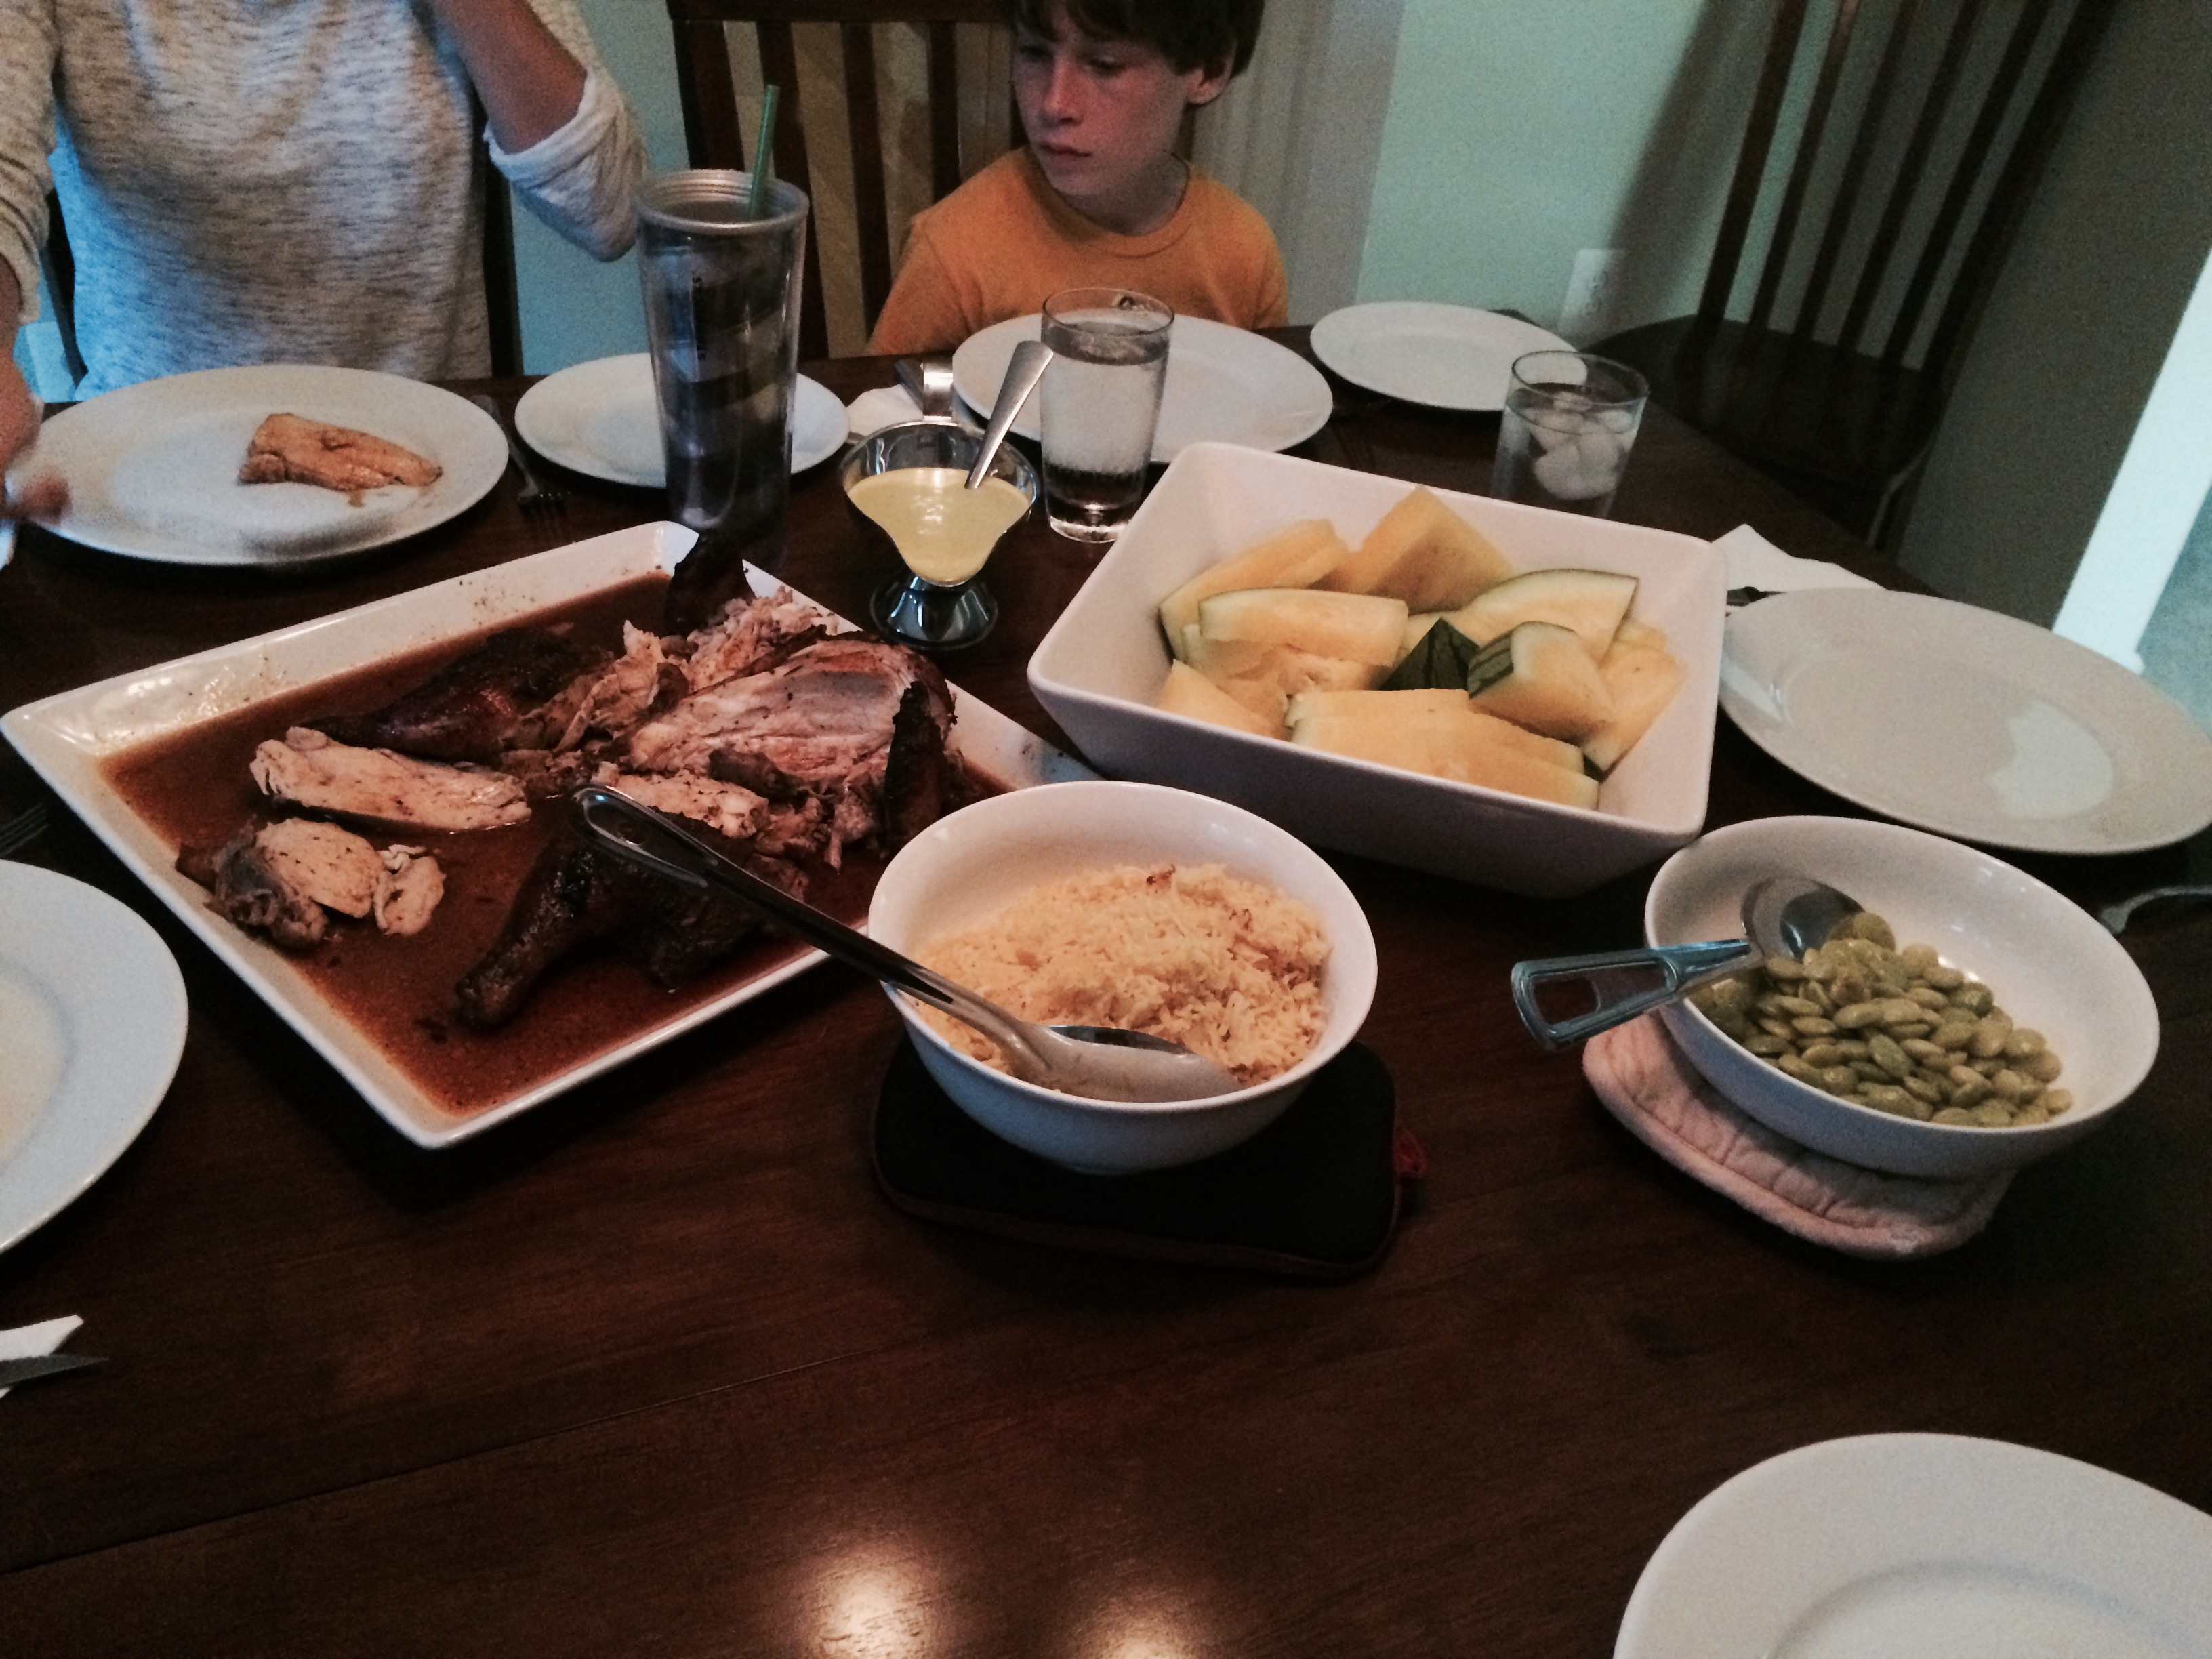
Everyone loved this dish.  There were no real comments or criticisms.  The only one who was never crazy about Thai was Alec I’m guessing because of the funky flavor of the fish sauce, but he seemed to really enjoy it. Hmm, maybe it has grown on him, which means if your kids don’t like something, keep making them try it!  The only thing I would have done differently is cook the meat first and then add it to the dish later.  Cooking the meat and vegetables together was too much for the even rather large fry pan I was working with.  Oh, I forgot, the little one said it could be “spicier!”  We all did end up adding Sriracha, but I think that is our own obsession with spiciness, not because the dish was mild.

Meatloaf

Meatloaf is one of our family favorites and something I make especially well-except for this last time.  While I am embarrassed to admit making a not so good loaf of meat, I need to put my ego aside and remember one of the main purposes I started this blog, which is not to repeat the same mistakes.  Below is the recipe from last night’s loaf.  I consider this recipe my own because I have been making meatloaf for so long and can’t remember if and when I ever followed a specific recipe.

Ingredients

1 lb. of ground beef

1 egg

1/3 cup of sauteed onion

1/3 cup of sauteed red pepper

1/4 cup of Heinz ketchup

1 teaspoon Worcestershire sauce

1 teaspoon ground mustard

Salt and Pepper

Barbecue Sauce

IMG_4345IMG_4346

Directions

Mix all of the ingredients in a large mixing bowl thoroughly with your hands.  Place meatloaf mix in a greased meatloaf/bread pan and form into a loaf. Spoon some jar barbecue sauce on the top of the meat before baking in a 350 degree oven for approximately 50 minutes.

IMG_0576

Results

The meatloaf ended up being tasty, but very dry.  Notice the shrinkage.   It was definitely one of my worst loafs, but at first I wasn’t sure what happened.   Meatloaf consistently cooks for 50-60 minutes at 350, but maybe 50 minutes was a bit too long for this one?  Then I realized in my recently acquired need for only organic beef (it tastes so much better!), I bought the only possible option at my stupid grocery store-Laura’s Lean Beef-with a ridiculous 93% lean to fat ratio.  I never, ever use lean beef because it has absolutely no flavor and ends up being very dry!  I didn’t even notice the “Lean” in the title…I only realized that after I dug out the package from the trash can.  Anyway, lesson learned, and we just don’t like our red bell peppers so I would not add those again and I only did because I had three of them in my latest farm share.  Also, I typically add marinara sauce and parmesan cheese on top, which I think tastes better.

Slow Cooker Pork Tacos

This recipe below is adapted from the Food Network.  I have made this recipe many times and it is absolutely delicious.  The only changes I make are based on not being able to find fresh ancho and pasilla chiles at any of my local stores.  I have tried several substitutions.  For instance, if I could only find dry ancho chiles, which happened recently, I put them in the microwave for a minute or two to make them pliable (which is the whole purpose of microwaving the fresh ones as well).  Then I can easily pull off the stems and rip out the seeds while running the peppers under cold water.  I basically will substitute any variety of dry or fresh chile peppers that I can find or have on hand.  One thing I have noticed is that the garlic only needs to be microwaved for a minute before adding it to the blender or it will burn.  Cilantro, lime and mango are great garnishes as well as pineapple salsa.  I also usually serve with black beans/refried beans and rice.  Finally, if you are worried about fat-even if you trim the pork it will have tons of flavor.  This most recent time I actually used a pork sirloin roast, a much leaner cut,  and it still had a lot of flavor though the meat did not pull apart as easily.

FNmag_Slow-Cooker-Pork-Ta_s4x3.jpg.rend.sni18col

Ingredients

3 whole ancho chiles
3 whole pasilla chiles
4 cloves garlic, unpeeled
2 to 3 chipotles in adobo sauce
1/2 medium white onion, roughly chopped
3 tablespoons extra-virgin olive oil
2 tablespoons honey
1 tablespoon cider vinegar
Kosher salt
2 teaspoons dried oregano, preferably Mexican
3 3/4 cups low-sodium chicken broth
4 pounds boneless pork shoulder (untrimmed), cut into chunks
Freshly ground pepper
2 bay leaves
1 cinnamon stick
Corn tortillas, warmed, for serving
Assorted taco toppings, for garnish
Directions

Put the ancho and pasilla chiles and the garlic in a bowl; add 2 to 3 tablespoons water. Microwave on high until soft and pliable, 2 to 3 minutes. Stem and seed the chiles; peel the garlic. Transfer the chiles and garlic to a blender.

Add the chipotles, onion, 2 tablespoons olive oil, honey, vinegar, 1 tablespoon salt and the oregano to the blender; puree until smooth. Heat the remaining 1 tablespoon oil in a large skillet over high heat; add the chile sauce and fry, stirring, until thick and fragrant, about 8 minutes. Pour in the broth and reduce until slightly thickened.

Season the pork all over with salt and pepper and transfer to a large slow cooker. Add the bay leaves and cinnamon stick, then pour in the sauce. Cover and cook on high until the meat is tender, about 5 hours. (Or cook the meat in a large Dutch oven, covered, for 1 hour 45 minutes at 350 degrees; uncover and cook 30 more

minutes.)

Discard the bay leaves and cinnamon stick. Shred the pork with 2 forks; season with salt and pepper. Serve the shredded pork in the tortillas, along with toppings.

Photograph by Tina Rupp

Recipe courtesy of Food Network Magazine

Read more at: http://www.foodnetwork.com/recipes/food-network-kitchens/slow-cooker-pork-tacos-recipe.html?oc=linkback

Summer Corn Chowder

After receiving a dozen corn from my local CSA all summer, I was trying to come up with some new ideas.  I always thought pictures of corn chowder in magazines looked yummy, but wasn’t sure all the cutting and shucking was worth it.  However, the corn was piling up and I hate wasting food so I started looking around for some recipes.  The recipe below is an adaptation of one I found from a blog called cookingclassy.com, which I “loosely” followed.

RECIPE:

  • 6 ears of corned shucked with kernels cut from cob
  • 6 cups of water (this was completely by accident; I meant to only add five)
  • 1/4 cup flour
  • 1 large shallot diced
  •  2 jalapeños diced
  • 1 clove garlic
  • 5 slices of bacon
  • 1 bay leaf
  • 1 cup of heaving whipping cream
  • 1/2 teaspoon thyme flakes
  • 1 cup cheddar cheese
  • pat of butter

My Modifications:

I did not want the entire dish to be a bowl of corn so I reduced the amount of corn from 8 to 6 cobs.  I added water instead of chicken broth for more flavor.  Along with the desire for more flavor I used whipping cream instead of half and half as called for in the original recipe.  As a personal preference I did not add potatoes.  I added jalapeños instead of chives because that was what I had on hand.

Directions:

I diced the bacon into small pieces, which I sauteed until crisp.  I removed the bacon and added the onions and peppers for a few minutes until soft.  Then I added the garlic for 30 seconds.  I should have added the flour at this point, but was distracted and ended up pouring in the whole 48 oz. can of broth instead of five cups. To rectify, I quickly scooped out a cup of broth while still cool from the pot and stirred in the flour until dissolved and then added it back to the pot.  I then added generous amounts of salt and pepper, the bay leaf, the corn, the thyme, which I simmered for fifteen minutes.  Finally, I added the whipping cream and simmered for 5-10 more minutes before briskly stirring in the cheddar.  I topped off the pot of soup with a pat of butter.  I added a handful of bacon to each bowl of soup so that it would stay as crispy as possible whereas the original recipe called for the bacon to be cooked in the soup from the beginning.

RESULTS:

IMG_0553


All agreed the soup had excellent flavor though it could have been thicker (due to my amateur mistakes related above).  I was probably the biggest critic thinking it just too corny…yes, I know it is corn soup but I would have preferred less hunks of kernels.  Maybe if I had blended it a bit or even added less corn?  In any case, even though the family liked it and it would have been a great bowl of soup had I not been careless, I may make this about once a year.

Source (cookingclassy.com)

Continue reading “Summer Corn Chowder”

Peruvian Style Roasted Chicken, Yellow Rice and Lima Beans

My daughter Grace and I spent a month in Lima, Peru a few years back and were excited to enjoy some amazing food. In particular, Peruvians make a fabulous spit-roasted chicken accompanied by delicious sauces, typically a spicy green chili salsa and a spicy yellow cream sauce made from aji amarillo paste.  Tonight’s dinner is a version of that recipe from Better Homes and Garden called “Pollo a la Brasa” aka Peruvian chicken.  The chicken will have been brining for twenty-four hours in a bath of soy, honey garlic, beer, garlic water and salt.  As per the recipe (see the link below), I cut out the back bone so the chicken will lay flat in the roasting pan.  This was my first time cutting up whole chicken and it did create some anxiety with all the chicken juice and the fondling of the raw chicken but I am proud of the results.  To that I will add a rub and attempt the yellow sauce if I can find aji amarillo paste at a local Asian/Latin Grocery store nearby. I decided to make a simple yellow rice, which I make frequently and lima beans, which I have never made and which I accidentally took from my weekly CSA instead of green beans.  However, a typical Peruvian chicken dish is usually accompanied by french fried or potatoes, which are popular in the Andes.

Today, I was able to get the aji amarillo chili paste shown below to make the sauce for the chicken, which I don’t anticipate finding in most grocery stores though it can be ordered online.

2015-08-18_003645807_D94A8_iOS      2015-08-17_223348135_3EDF0_iOS

After I removed the chicken from the overnight brine I patted it dry before adding the rub (see below) and putting it into the oven for an hour at 375 degrees.  Here is a the picture of the chicken with the rub I applied to the chicken skin and underneath the skin, which I loosened with my fingers.  Then I licked them.  Here is the recipe and recipe link for the full details (http://www.bhg.com/recipe/pollo-a-la-brasa/)

Pollo a la Brasa

BRINE:

  • 1
    3 pound whole roasting chicken
  • 2
    cups water
  • 2
    tablespoons kosher salt
  • 1
    12 ounce bottle dark beer, such as Negra Modelo
  • 1/2
    cup soy sauce
  • 2
    tablespoons honey
  • 6
    cloves garlic, smashed

RUB:

  • 1 1/2
    teaspoons chili powder
  • 1
    teaspoon paprika
  • 1/2
    teaspoon kosher salt
  • 1/2
    teaspoon ground cumin
  • 1/2
    teaspoon dried oregano, crushed
  • 1/4
    teaspoon ground black pepper

*Optional Aji Sauce: Blend 1 cup of mayo, 1/4 cup aji paste, 1/4 cup diced green onion, 1/4 cup diced cilantro, 2 cloves and garlic and the juice of 3-4 teaspoons of lime until smooth.

Yellow Rice

  • 1 and 1/2 cup of rice
  • 1/2 onion diced and sauteed for a few minutes until soft and translucent ( I used white onion tonight)
  • 1 clove garlic diced and sauteed for 30 second
  • chicken broth
  • sprinkle of turmeric and curry powder
  • salt and a splash of olive oil

*I use a rice cooker so I just added the above ingredients and pushed start.  Also, my liquid (chicken broth) to rice ratio is based on my specific cooker instructions.  However, you can make this just as easily on the stove following the directions on the back of bag or box rice.  If you do like rice and eat it often enough I highly recommend a rice cooker.  They are relatively cheap and very efficient and you don’t have to keep monitoring the rice on the stove while making the rest of the meal.

Lima Beans

As I mentioned we do like to try new things, but this has never been one of the them.  First, to get to the beans you have to shuck them from their shells. Lima beans resemble an extra large snap pea. Then I boiled the beans in salt water for 30 minutes, drained them and added butter.  I just did a quick internet search on how to cook fresh lima beans.

Results

2015-08-17_234416267_E8FBF_iOS (1)   2015-08-17_234808142_EFE8C_iOS

The chicken was perfectly cooked, and it actually took 50 minutes, not the hour the recipe called for.  By all accounts-kids, husband and our dinner guest Lisa Egebo-the chicken was excellent.  The brine and rub made the chicken so juicy (check the platter on the table) and flavorful…though I think I need some lessons on carving.   Brent claimed it was the best roast chicken, not only that I have ever made, but that he has ever eaten though noting it is not something we order at restaurants.   Needless to say, we picked this bird clean. We were also unanimous in thinking the aji sauce, while yummy, was not needed on a chicken so savory. On the other hand, while the lima beans weren’t disgusting or inedible, no one claimed to have liked or enjoyed them.  The yellow rice was delicious as usual…though this time it seemed to be better because I didn’t add too much turmeric. It really only needs just a sprinkle for color and flavoring.  Also, you may notice the yellow watermelon (my first) on the table, which was delicious as well, and which I grabbed from my weekly CSA share at Brad’s Produce without noticing the color.  I will definitely be making this chicken again.

Sunday Dinner: Spicy Cajun Tuna Steak

2015-08-16_232727905_00D22_iOSTonight I tried to replicate a fish dinner I had at Harborside Bar and Grille in Ocean City, MD recently on vacation.  The dish was a spicy cajun Mahi topped with shrimp.  They refused to give me the recipe.  I thought I could easily replicate it.  I was wrong.

My recipe:

2 tuna steaks (I know it was Mahi, but I use what I have)

1 salmon (I only had 2 tuna steaks and 1 salmon leftover from Costco)

1 chicken breast (I don’t like to admit that I make substitutions for picky eaters but occasionally I do; Grace does not really like fish..I don’t know why.  She used to.)

Old Bay Blackened Seasoning (that I stumbled across at a fish market in West Ocean City..apparently it is very popular and frequently sells out)

1/2 juiced lemon

1 small shallot

1 extra large tomato (seeded and diced with all the mushy crap removed)

Splash of white wine (I use Chardonnay because a lot of recipes are great with a dry white and I like to drink it)

1/2 cup of chicken broth (I am guessing because I rarely measure)

1 cup heaving whipping cream (same as above)

1 small can of Phillips back fin crab meat

*I fried the fish in hot oil for two minutes on each side and set aside.  I added a little butter and oil to the same pan and sauteed the shallot and diced tomato.  Added the wine, cream and broth to a simmer.  Finally, I added the fish for a few minutes before plating.

Family Feedback:

We agreed that the recipe was not a success in terms of me replicating the sauce my fish was cooked in at Harborside and that the whole meal was overall average at best…especially considering the cost of the ingredients and the effort versus the taste.  Some possible issues might be the quality of the tuna steak (from Costco) which didn’t seem that great, crab meat from Phillips, which tasted really fishy and which I thought was lump, but was back fin.) The salmon tasted the best though something was definitely missing in the sauce.  I’m thinking maybe they used cream sherry.  Need to get some of that.

I liked the meal the least thinking the sauce was actually pretty gross and a total waste of money where Alec was left licking his plate and both kids plan on eating the leftover cream/crab sauce on pasta for lunch tomorrow.  We also agreed the croutons for our salad that I browned in butter, salt, oregano and garlic powder from leftover bread from last night’s dinner were the best part of the meal.