Haluski with Kielbasa

Haluski is typical “hunky” Pittsburgh food that I grew up with.  “Hunky,” previously used to label (not so nicely) Slavic immigrants from Europe, many that came to work in the Western Pennsylvania coal mines, is now used to describe food and/or culture.  My grandmother had to cook a lot of “hunky” food because my Pappy was Czechoslovakian.

Haluski is a simple dish of noodles and cabbage and can be served as a side or add some meat or sausage like I did and it can be a meal.  Haluski is comfort food, however, and so not recommended for those that fear butter or carbs.

IMG_4806IMG_4809

Ingredients

1 package of kielbasa, sliced

1 package of egg noodles, cooked

1/2 head of green cabbage, chopped

1 yellow onion, diced

Directions

Slice up the whole kielbasa into pieces.  I cut mine into bite-sized round slices.  Sauté kielbasa in a fry pan with a bit of butter and crisp or brown to your liking.  Remove kielbasa from pan and set aside on a plate.  You will need to clean this pan or use another pan.  If not, the cabbage will turn brown.  In a clean pan, sauté the onions and chopped cabbage in three to four tablespoons of butter being careful that the heat is not so high the butter turns brown, which will make the cabbage turn brown.  You can add just a bit of oil with the butter to offset the potential of browning. When the cabbage is wilted, add the cooked kielbasa and a package of cooked egg noodles.  I had added a nice plop of butter to the egg noodles so they wouldn’t stick together after they finished cooking.  Add plenty of salt and serve.

Results

This was fatty, comforting and yummy, and also quick and simple to make.  Alec and Brent slurped it down in minutes before asking for seconds.  Grace, my new vegetarian, had hers sans kielbasa.  I really enjoyed it because I don’t make it that often, but I don’t think I need the kielbasa because it makes it too greasy, which the boys thought was crazy…Hmmm, maybe I could grill the kielbasa?  Alec and Grace liked it so much I made haluski for them two days later because I had leftover cabbage, and because I need to feed Alec a quick dinner before baseball or soccer practice…and then our family dinner after.

Linguini and Clams

FullSizeRender (27)

Linguini and clams is one of our all-time favorites and I made it tonight for Grace’s birthday.  I added a half a bag of fresh baby spinach per her request.  I usually cheat and do not use fresh clams, but I still think it is an amazing dish and a lot easier and cheaper with the canned clams.

Ingredients

1 lb. box linguini

2 or 3 cans of clams (6.5 oz each)

1/2 lemon

1 handful of chopped fresh Italian parsley

4-5 cloves of garlic minced

1 cup dry white wine

1 cup of chicken broth

1/2 stick of butter

salt/pepper/red pepper flakes

1 cup of freshly grated parmesan cheese

*1/2 bag of baby spinach (optional)

Directions 

Add box of pasta to a pot of salted boiling water and cook until al dente..approximately 8 minutes.  Drain pasta and stir with a bit of olive oil to keep it from sticking together.  Heat a large fry pan and add a half a stick of butter making sure that the pan is not so hot that the butter turns brown.  Add the garlic for thirty seconds and then add wine and the juice of half of a lemon.  Simmer until the liquid is reduced by half and then add the cans of clams with their juice, the chicken broth, the salt, pepper and red pepper flakes.  After that simmers for a few more minutes, add the spinach and then slowly add the pasta.  I usually add about 3/4 of the total amount of cooked pasta so the pan is not overcrowded and so if we don’t eat it all we end up having more juice.  Top with fresh parsley and fresh parmesan and serve.

Results

I think this is one of my best linguini and clams and everyone agreed.  Only Alec decided to be a pain and say he doesn’t like it with the parsley when I cook frequently with Italian parsley and he has never complained before.

Beef de Sonora and Twice Baked Potatoes

I bought a Better Homes and Gardens “Mexican Cuisine” edition this summer and the few recipes I have tried so far have been great, in particular, the Peruvian chicken I made awhile back.  “Beef de Sonora,” below, was next on my list to try and can be found at the following link.  http://www.bhg.com/recipe/beef-de-sonora/

Ingredients for the Beef

2 lb. flank steak

1 onion chopped

3 fresh jalapeños diced; stemmed and seeded

6 (smallish) cloves of garlic diced

29 oz. whole canned tomatoes, blended or canned tomato sauce

1 14 1/2 oz. can of beef broth

1/4 cup ground ancho chile pepper

2 Tbsp. paprika

1 Tbsp. unsweetened cocoa

1/2 teaspoon salt

4 oz. fresh green beans, cleaned with ends trimmed

1/2 teaspoon cumin

1/2 teaspoon oregano

1 Tbsp. vodka

FullSizeRender (25)FullSizeRender (26)

Directions

The original recipe cooked the steak in a Dutch oven, but I decided to use my crock pot.  The meat cooked to a perfect tenderness after 3-3 1/2 hours on high.

Cut the steak in two pieces and heat a fry pan.  Add oil and cook each piece on both sides until nicely browned.  Remove and set aside for five minutes before slicing the steak in strips like you would for a fajita.  Add the onions, and peppers to the pan and fry about three-five minutes.  Add garlic for a minute and remove pan from burner.  Place all of the ingredients into the crock pot except the beans and vodka and cook for about two hours.  In the final hour of cooking, add the green beans and vodka.

*I did not have ground ancho chile powder, but I did have dried ancho chiles so I stemmed and seeded about four and blended them into a powder.  You could always use just regular chile powder.

*This can be served on tortillas like the recipe called for or over rice.  For some reason, I decided to make twice baked potatoes.

Ingredients for Potatoes

6 medium red potatoes

1 stick of softened butter

1/3 cup of warm milk

Salt and Pepper

1/2 cup of cheddar cheese

Crumbled bacon and scallions

IMG_4726 (2)

Directions

Bake the potatoes in a 325 degree oven for 60-75 minutes.  I used red because that is what I had in my cupboard.  Remove potatoes from the oven when they are easily pierced by a fork.  I cool the potatoes for about five minutes, but you do not want to cool too much or they will have a glue-like consistency when adding the other ingredients.  I use my bare hands, but if it is too hot use an oven mitt and cut each potato in half with a sharp knife and scoop out the middles with a spoon in a large bowl.  Be careful not to scoop too hard and break the skins; you can leave a layer of potato at the bottom for sturdiness.  Place empty skins in casserole dish or baking sheet.

Mash or beat potatoes with the softened butter, warm milk, lots of salt, pepper (and sour cream if you desire).  Mix in the cheddar cheese until well-blended.  Scoop a large spoonful of the mixture into each potato shell.  You can put more or less in each shell depending on your preference.  Top with crumbled bacon and chopped scallions.

Broil potatoes on low for 5-7 minutes.  You can also bake them for a half an hour in a 350 degree oven.

Results

The beef was absolutely delicious and tender and 2 lbs. versus the 1 1/2 lbs. the original recipe called for was the right amount for four people.  The sauce had a really great flavor so much so that Grace had it over pasta the next day, and I kept slurping it up with a spoon even when the beef was gone.  I really think my additions to the dish gave the sauce more depth.  Tasting the sauce while cooking I kept thinking something was missing.  I had already modified the recipe by using canned whole tomatoes that I blended instead of canned tomato sauce.  I also used three instead of one jalapeños because I had a bunch.  This likely gave it more flavor than it would have though still did not make the dish spicy (at least by our standards).  Finally, in the last hour to thirty minutes I threw in some oregano, cumin and vodka.  The original recipe did call for green beans, but Alec and I agreed we would rather have the meat by itself.  The original recipe also called for garbanzo beans, which I readily omitted!  As always the twice bake potatoes were a hit and I am glad I made plenty for leftovers.  Next time though I think I would like to have this steak on some warm tortillas.

Grilled Tsatziki Chicken

This quick, easy, and healthy Monday night dinner came out of a mistake I made the week before.  I was making grilled lamb patties and thought I would take a shortcut and top them with this store-bought tsatziki sauce pictured below.  It  wasn’t that good and didn’t particularly have much flavor.  If I would have looked closer or bothered to read the label I would have saw it was low-fat and I never would have bought it, but then I would not have made this awesome chicken last night.

I served this chicken, sliced, with a quick homemade tsatziki sauce, lettuce and cucumber on a warm pita

FullSizeRender (21)

Ingredients

Jar of store tsatziki sauce

2 lbs skinless chicken thighs

Salt and Pepper

Directions Salt and pepper chicken thighs and marinate with store tsatziki sauce in large ziplock bag or covered bowl for 5-6 hours.  Grill until thighs reach an internal temperature of 165 degrees.  Top with warm pita and homemade tsatziki sauce below and other toppings like lettuce, cucumber, onion, tomato.

Tsatziki Sauce 

1 cup of plain, full-fat Greek yogurt

1/2 grated English cucumber

1 clove finely minced garlic

1/2 juice of lemon

tablespoon of minced dill

Salt and pepper

Directions Squeeze as much liquid as possible out of the grated cucumber with paper towels (I used about 5-6) or a clean dish towel.  Add all of the ingredients and mix thoroughly.  Refrigerate tsatziki for an hour or two before using.

FullSizeRender (20)

Results Surprisingly, chicken marinated in store-bought tsatziki and topped with homemade tsatziki is not the least bit overkill, but quite delicious.  However, the chicken was so fantastic and tender it could be easily served by itself minus the extra sauce and pita. I will definitely buy this sauce that I mocked to make this chicken again.  It also makes me want to experiment with other yogurt-based marinades that I have seen recipes for, but did not try yet because I was skeptical.

Jerk Pork Tenderloin with Cuban Black Beans and Fried Plantains

Years ago while shopping at Home Depot I snuck a Weber Grilling cookbook in our cart.  Scowling at the $30 price tag Brent disapprovingly mumbles that we really don’t need this.  Since then, Weber’s “Real Grilling” by Jaime Purviance has been our go-to for grilling as well as our most-used and favorite cookbook.

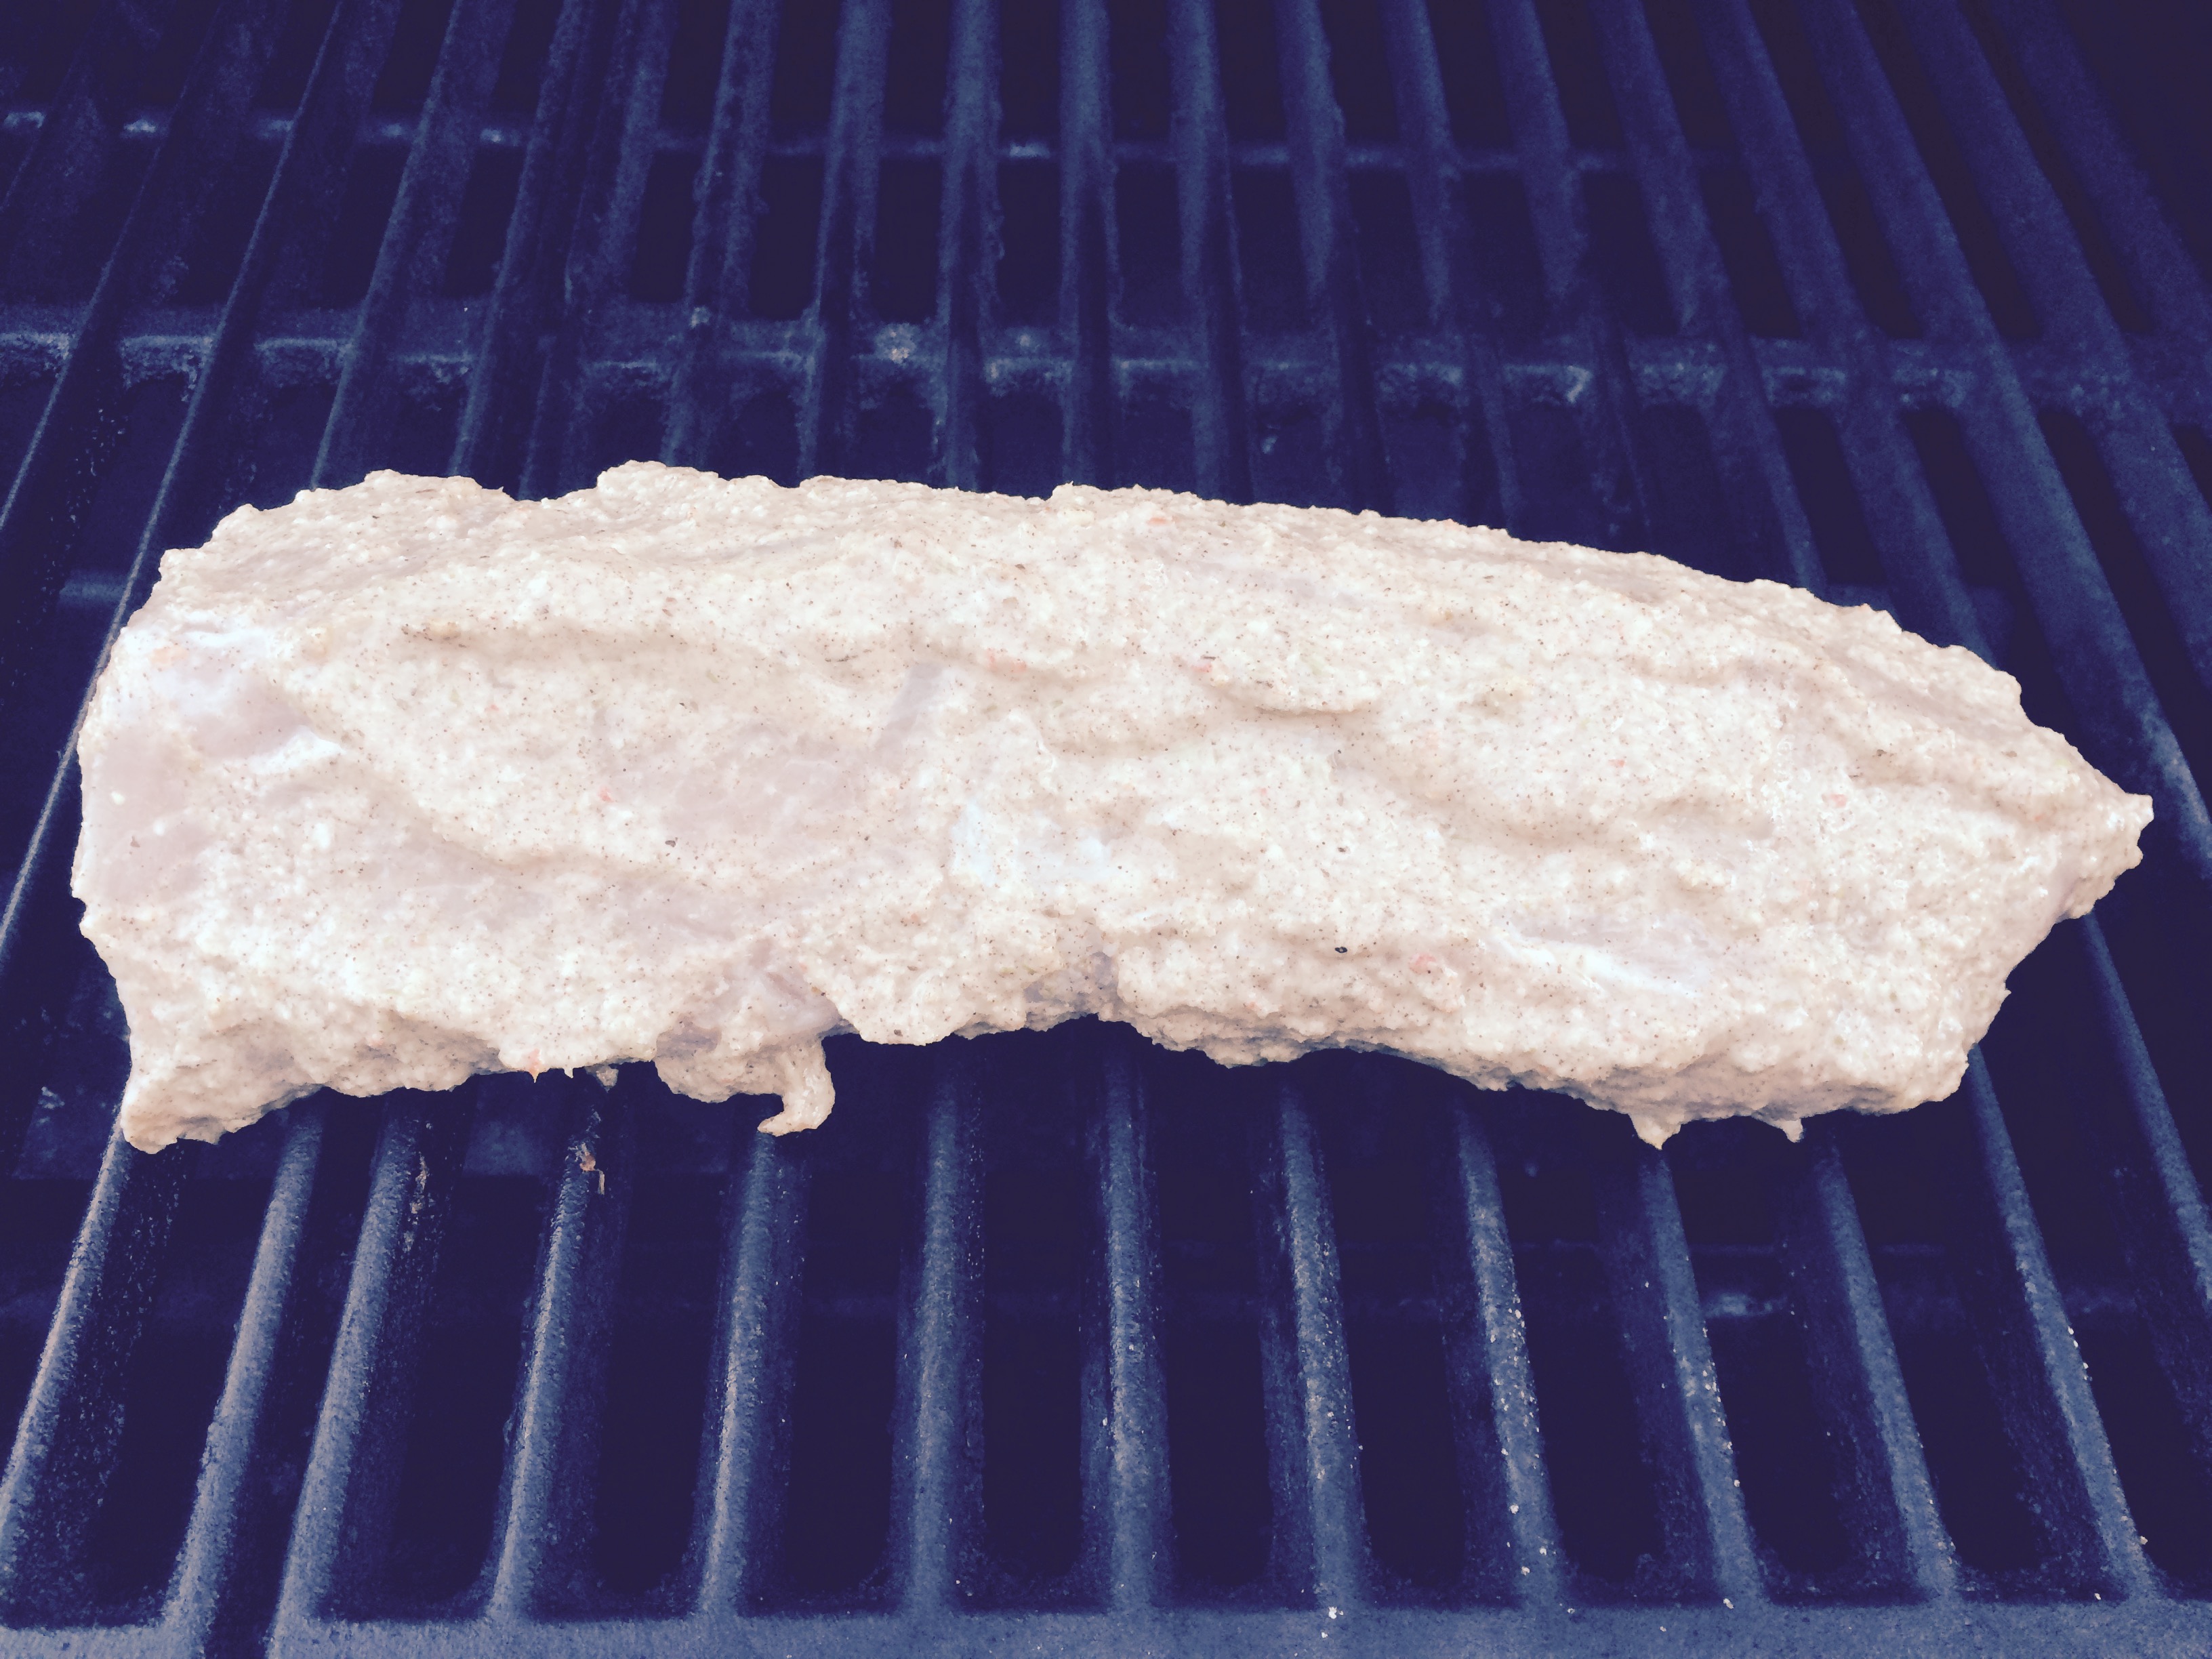
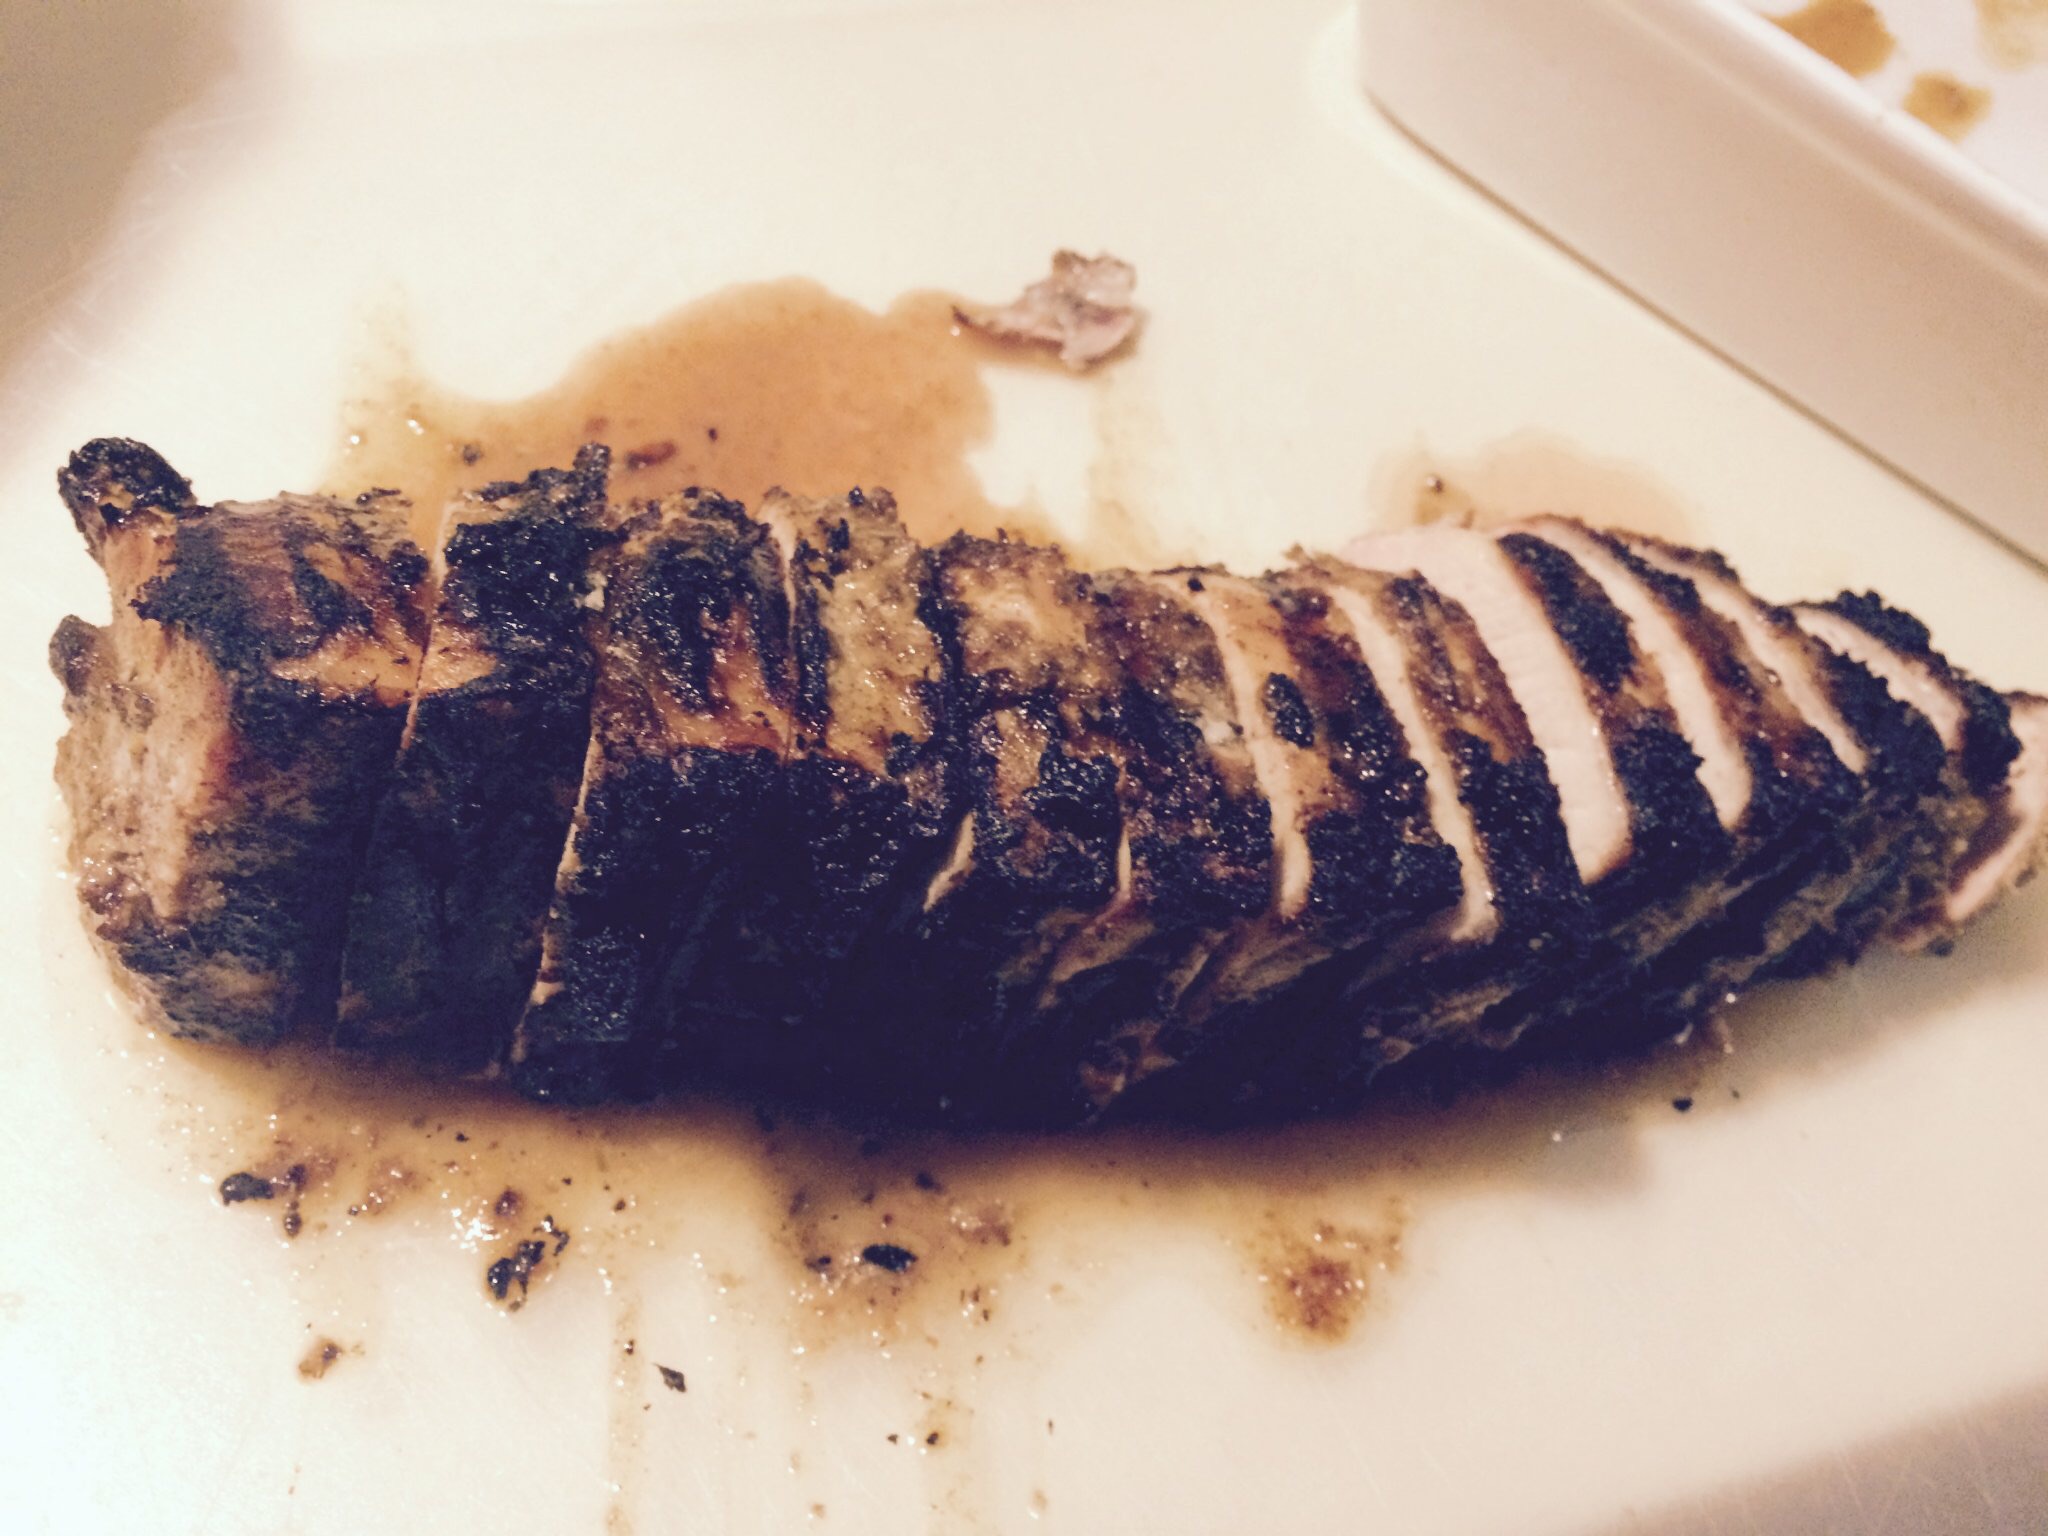
I followed this recipe below for Jerk Pork Tenderloin with one exception.  I used a whole habanero instead of a half for the paste, which is blended and brushed over the pork tenderloin for at least 2-4 hours before grilling.

Ingredients for the Paste

8 green onions chopped; white and light green parts only

1/4 cup canola oil

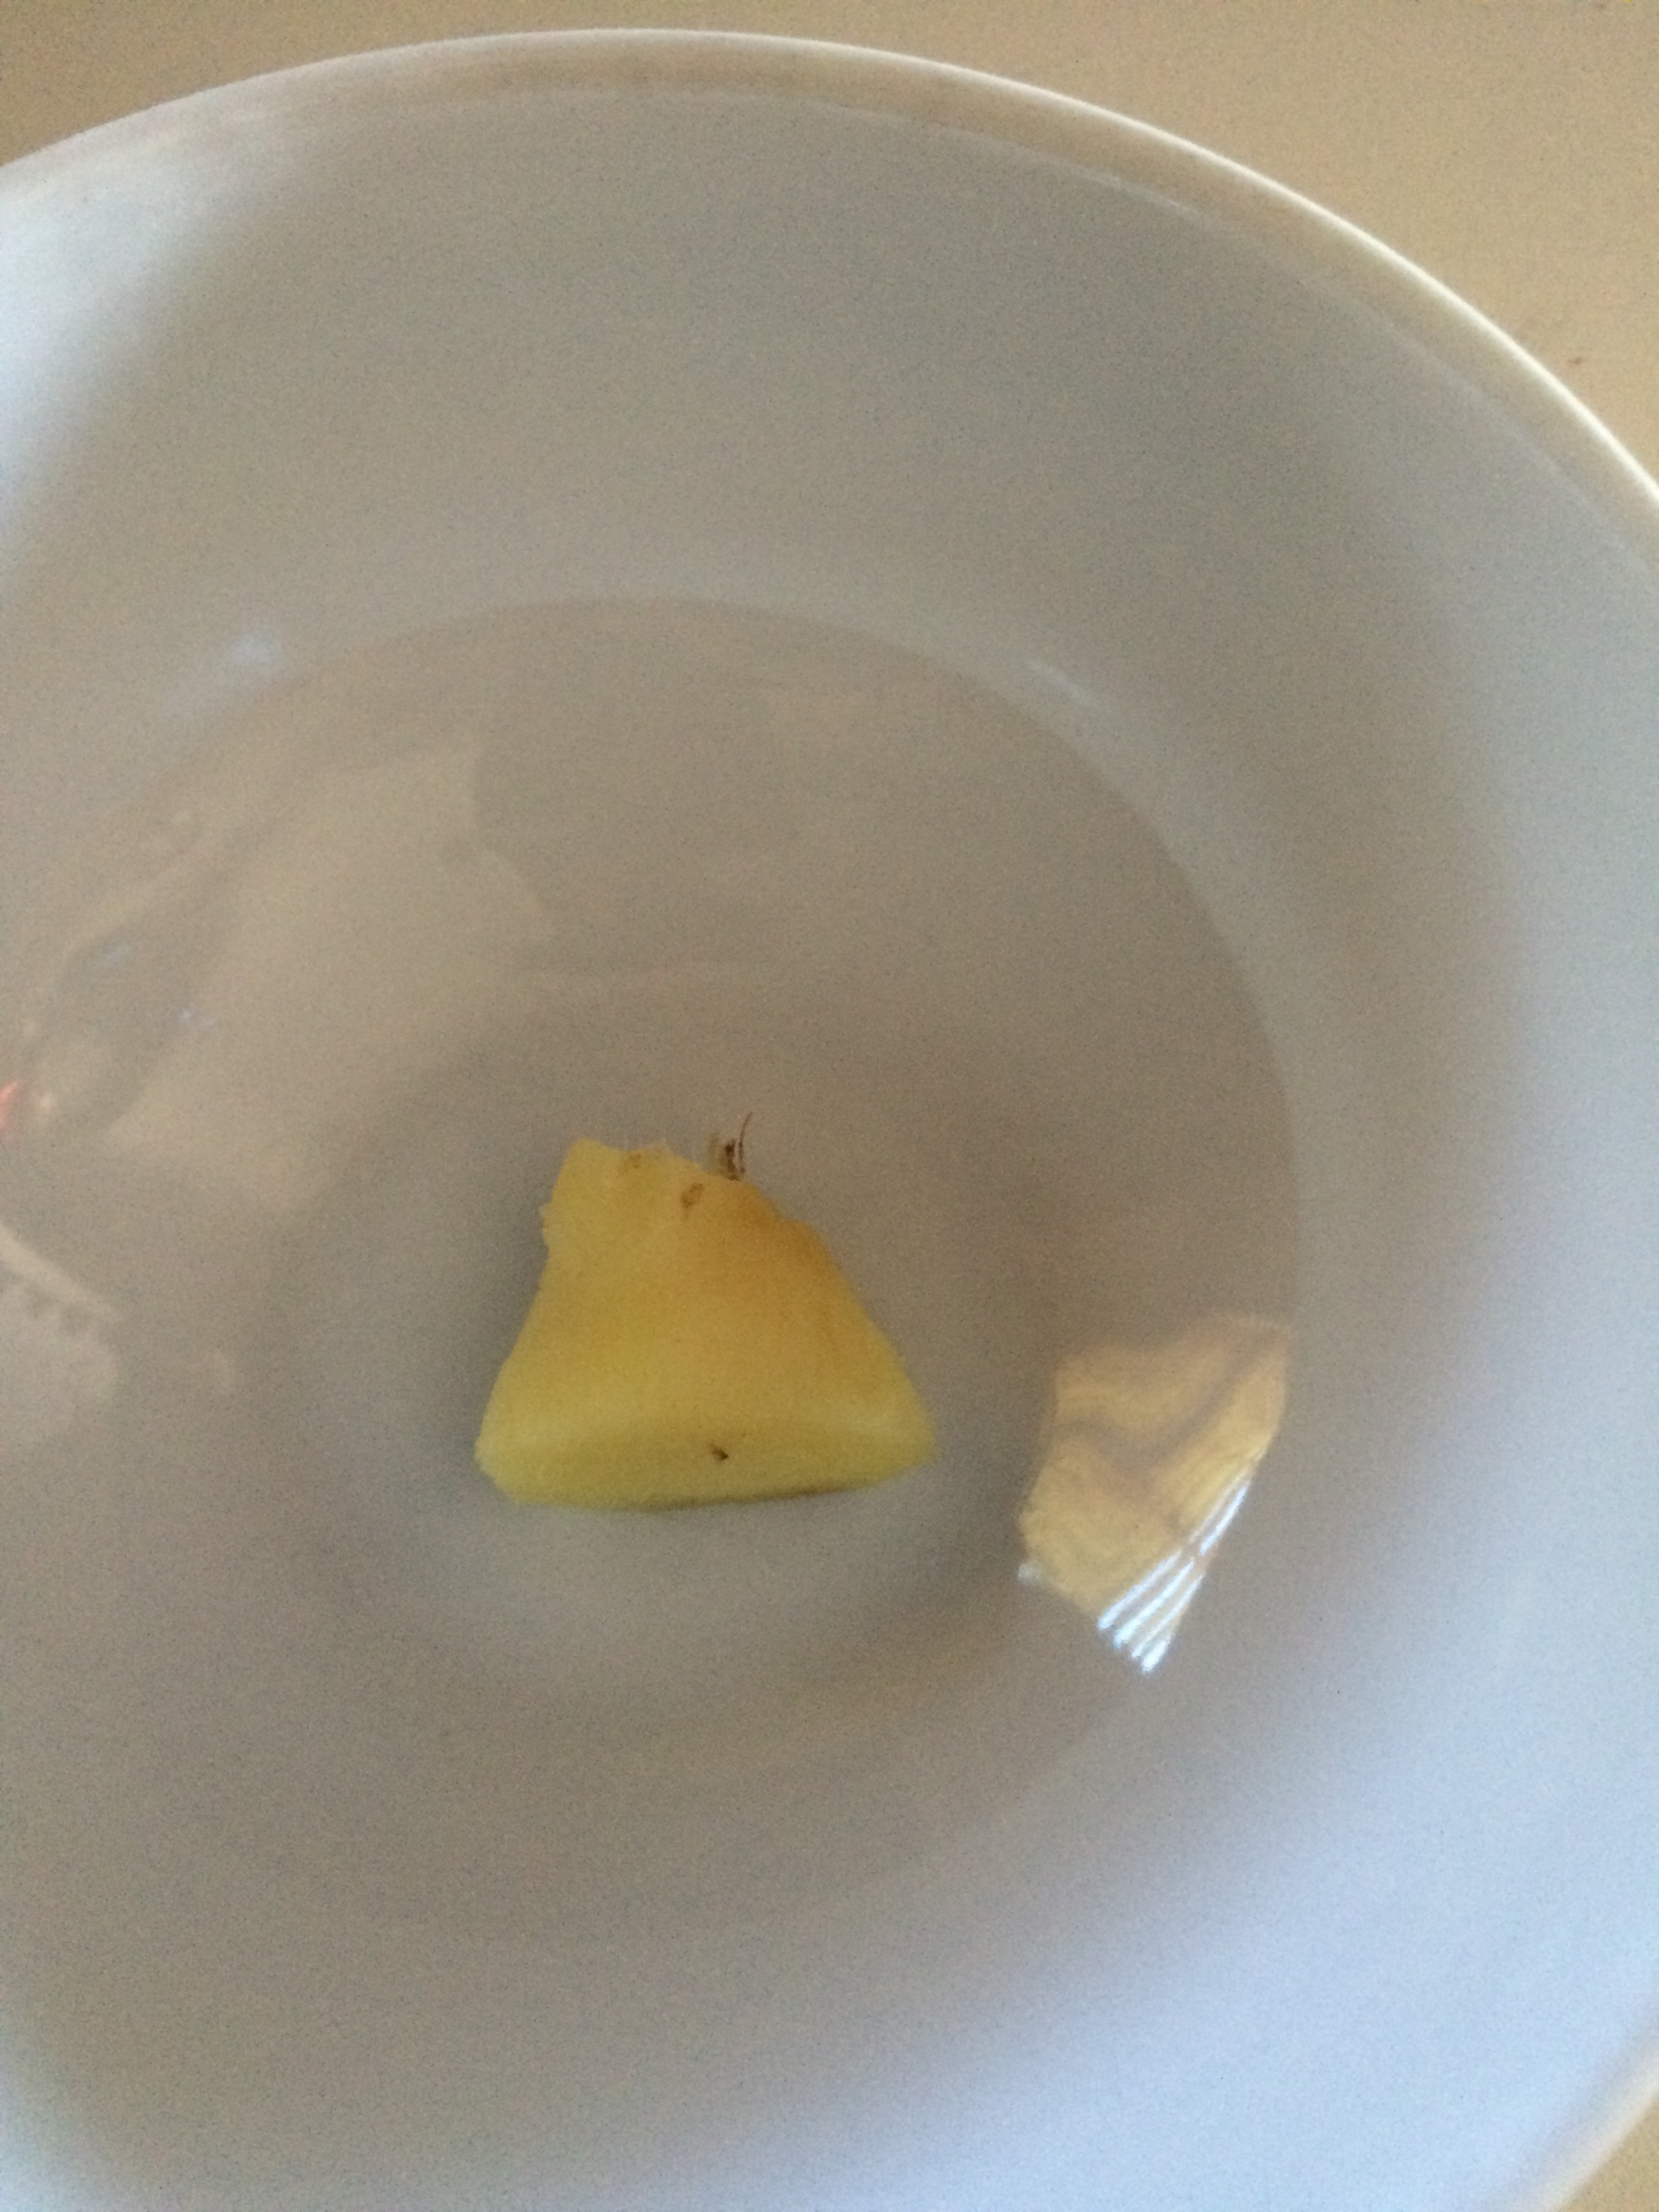
2 tablespoons roughly chopped fresh ginger

2 tablespoons of fresh lime juice

2 large garlic cloves, crushed

1 small habanero stemmed, seeded and roughly chopped

1 tablespoon of ground allspice

1 teaspoon salt

1/2 teaspoon of dried thyme

1/4 teaspoon of cinnamon

1/4 teaspoon of freshly ground pepper

*2 lb pork tenderloin

FullSizeRender (17)Image-1 (9)

Directions

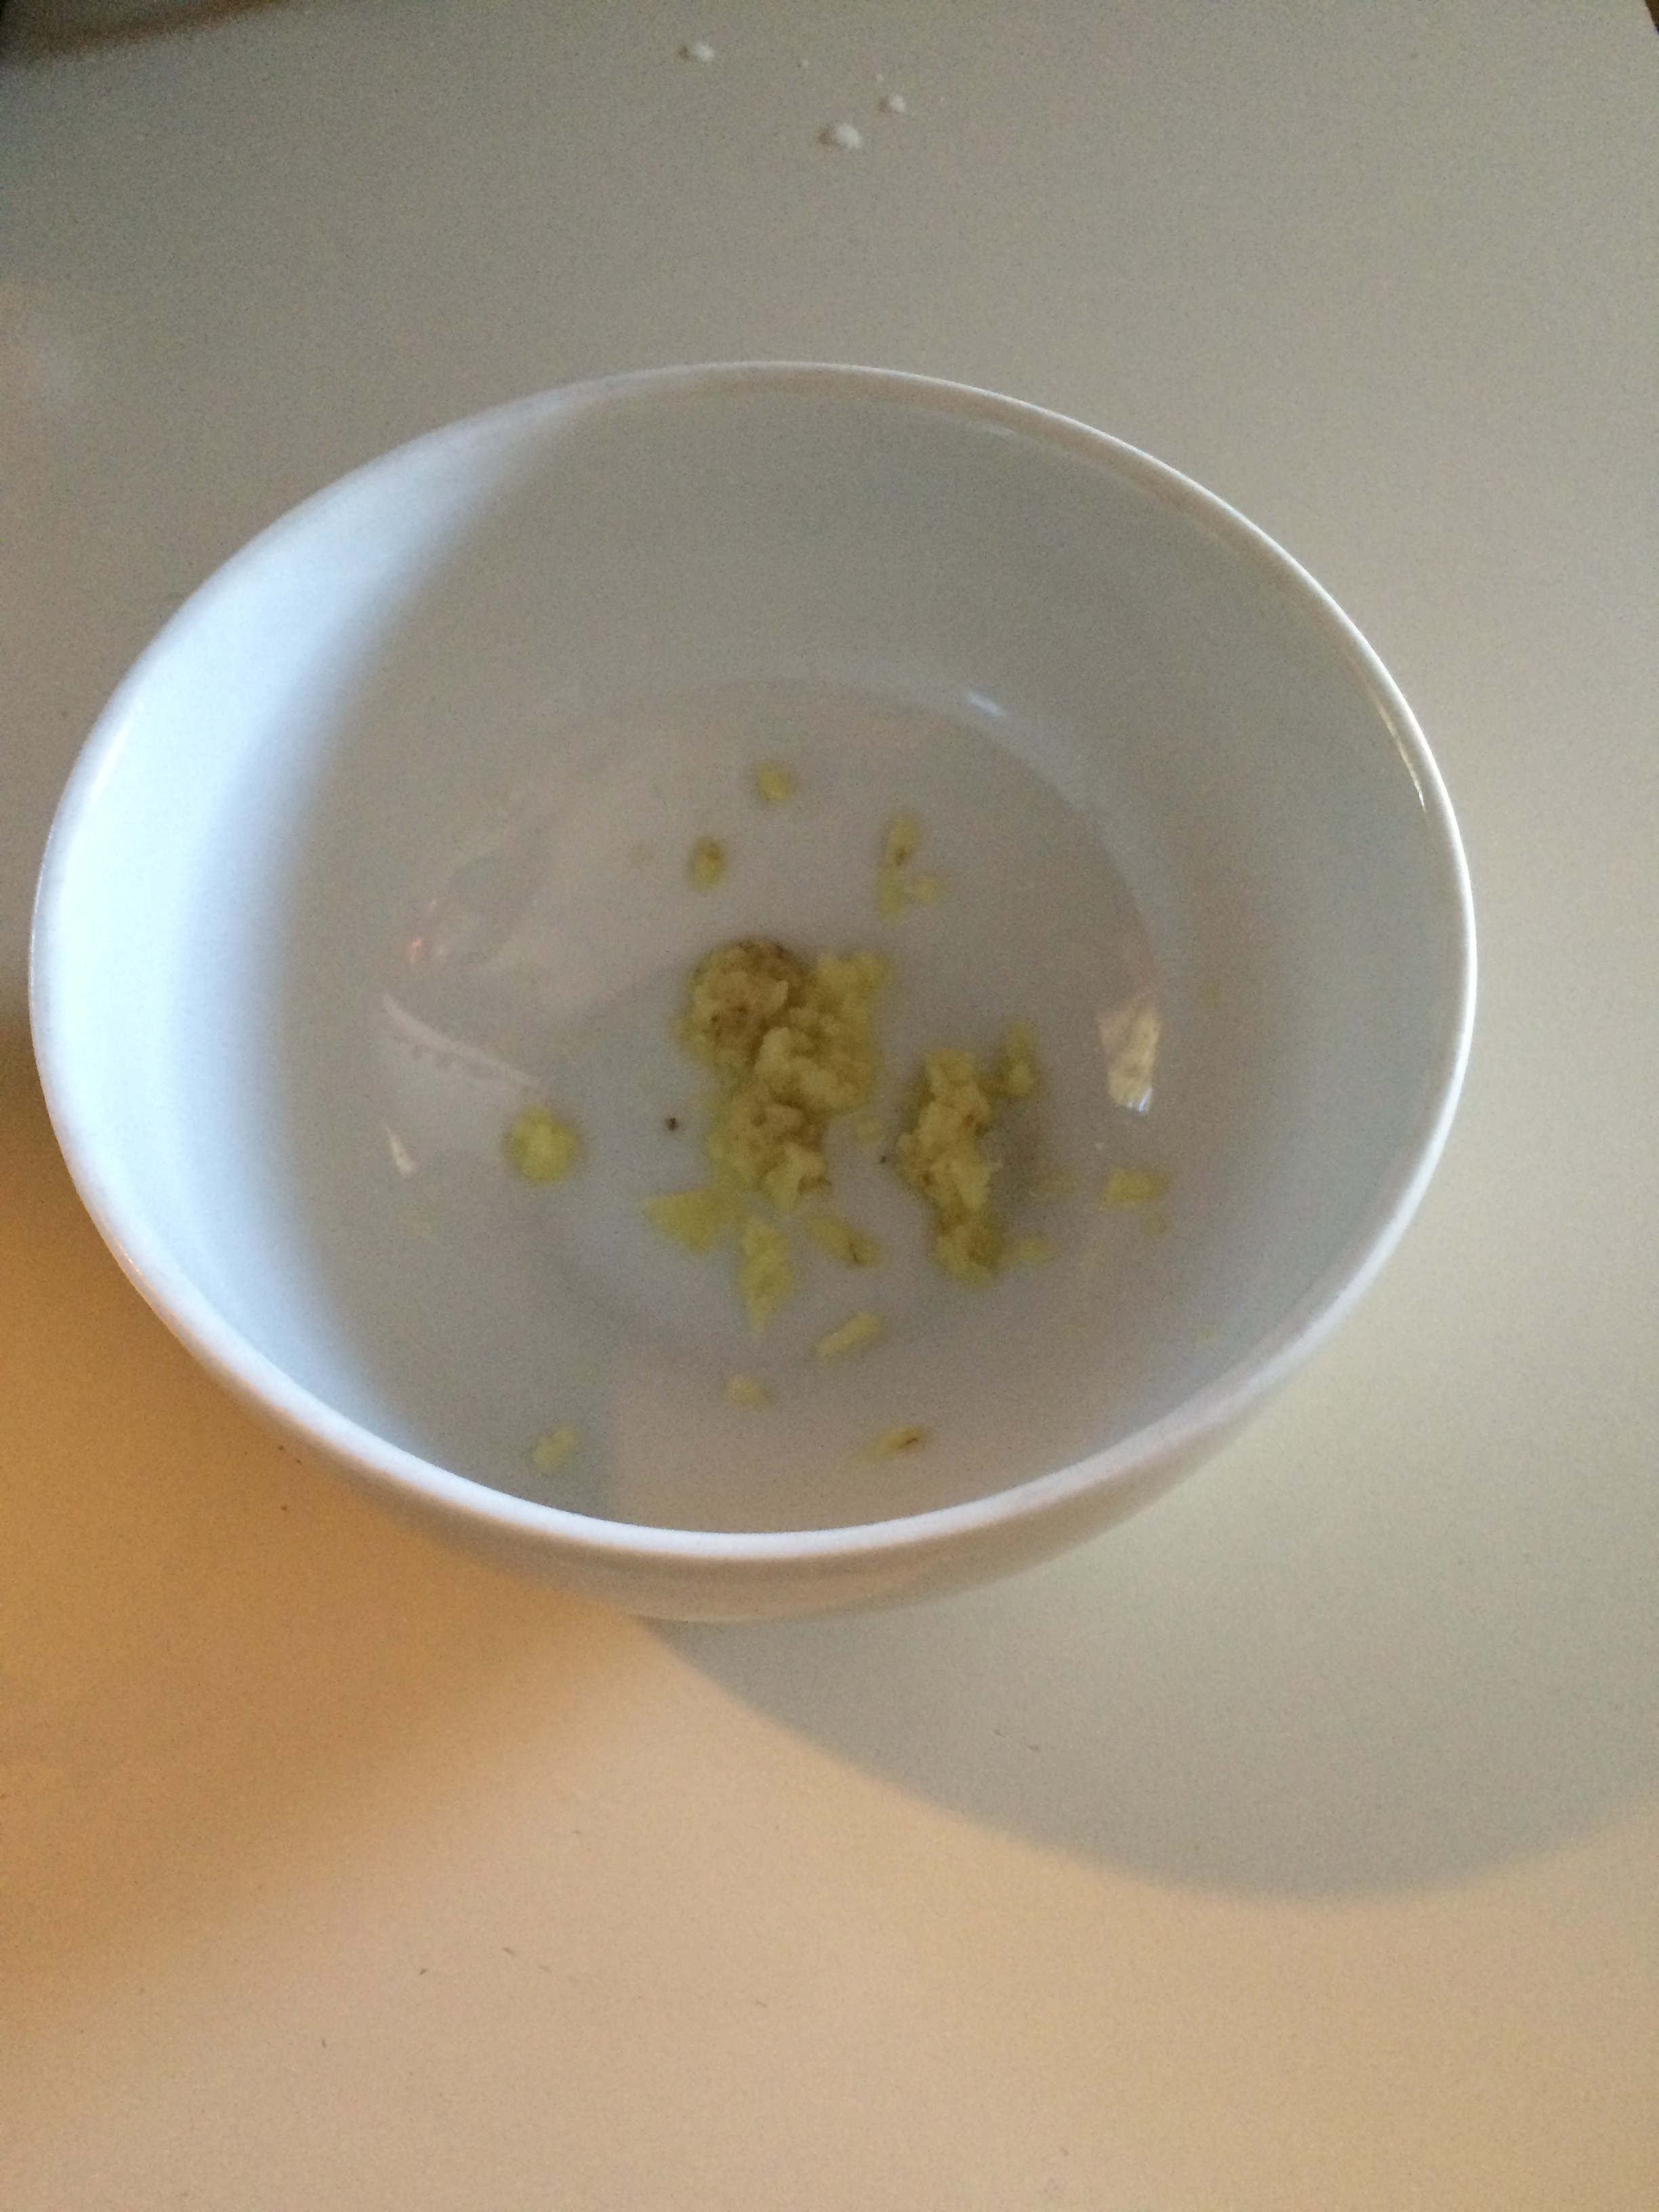
Blend all the ingredients together in a paste.  Brush/rub pork on all sides with paste and refrigerate for 2-4 hours.  Grill the pork tenderloin until it reaches an internal temperature of145 degrees and let rest for approximately 5-7 minutes.

*Be careful while cutting and deseeding the habanero.  I won’t be a wuss that uses rubber gloves, but I wish I would remember to keep my mouth shut.  It makes me choke every time.

Cuban Black Beans

I got this recipe from “The Cuban Table: A Celebration of Food Flavors and History” by Ana Sofia Pelaez.  You can find a copy at the following link http://www.post-gazette.com/life/food/2015/03/18/Pull-up-a-chair-at-the-Cuban-table-and-taste-some-island-food/stories/201503040001

I made a few changes to the original recipe.

For the Beans:

1/2 lbs. black beans; picked over, rinsed and soaked overnight (if possible)

1/2 red bell pepper coarsely chopped

1/2 white onion coarsely chopped

3 cloves of garlic peeled and smashed

1 bay leaf

1 tablespoon of olive oil

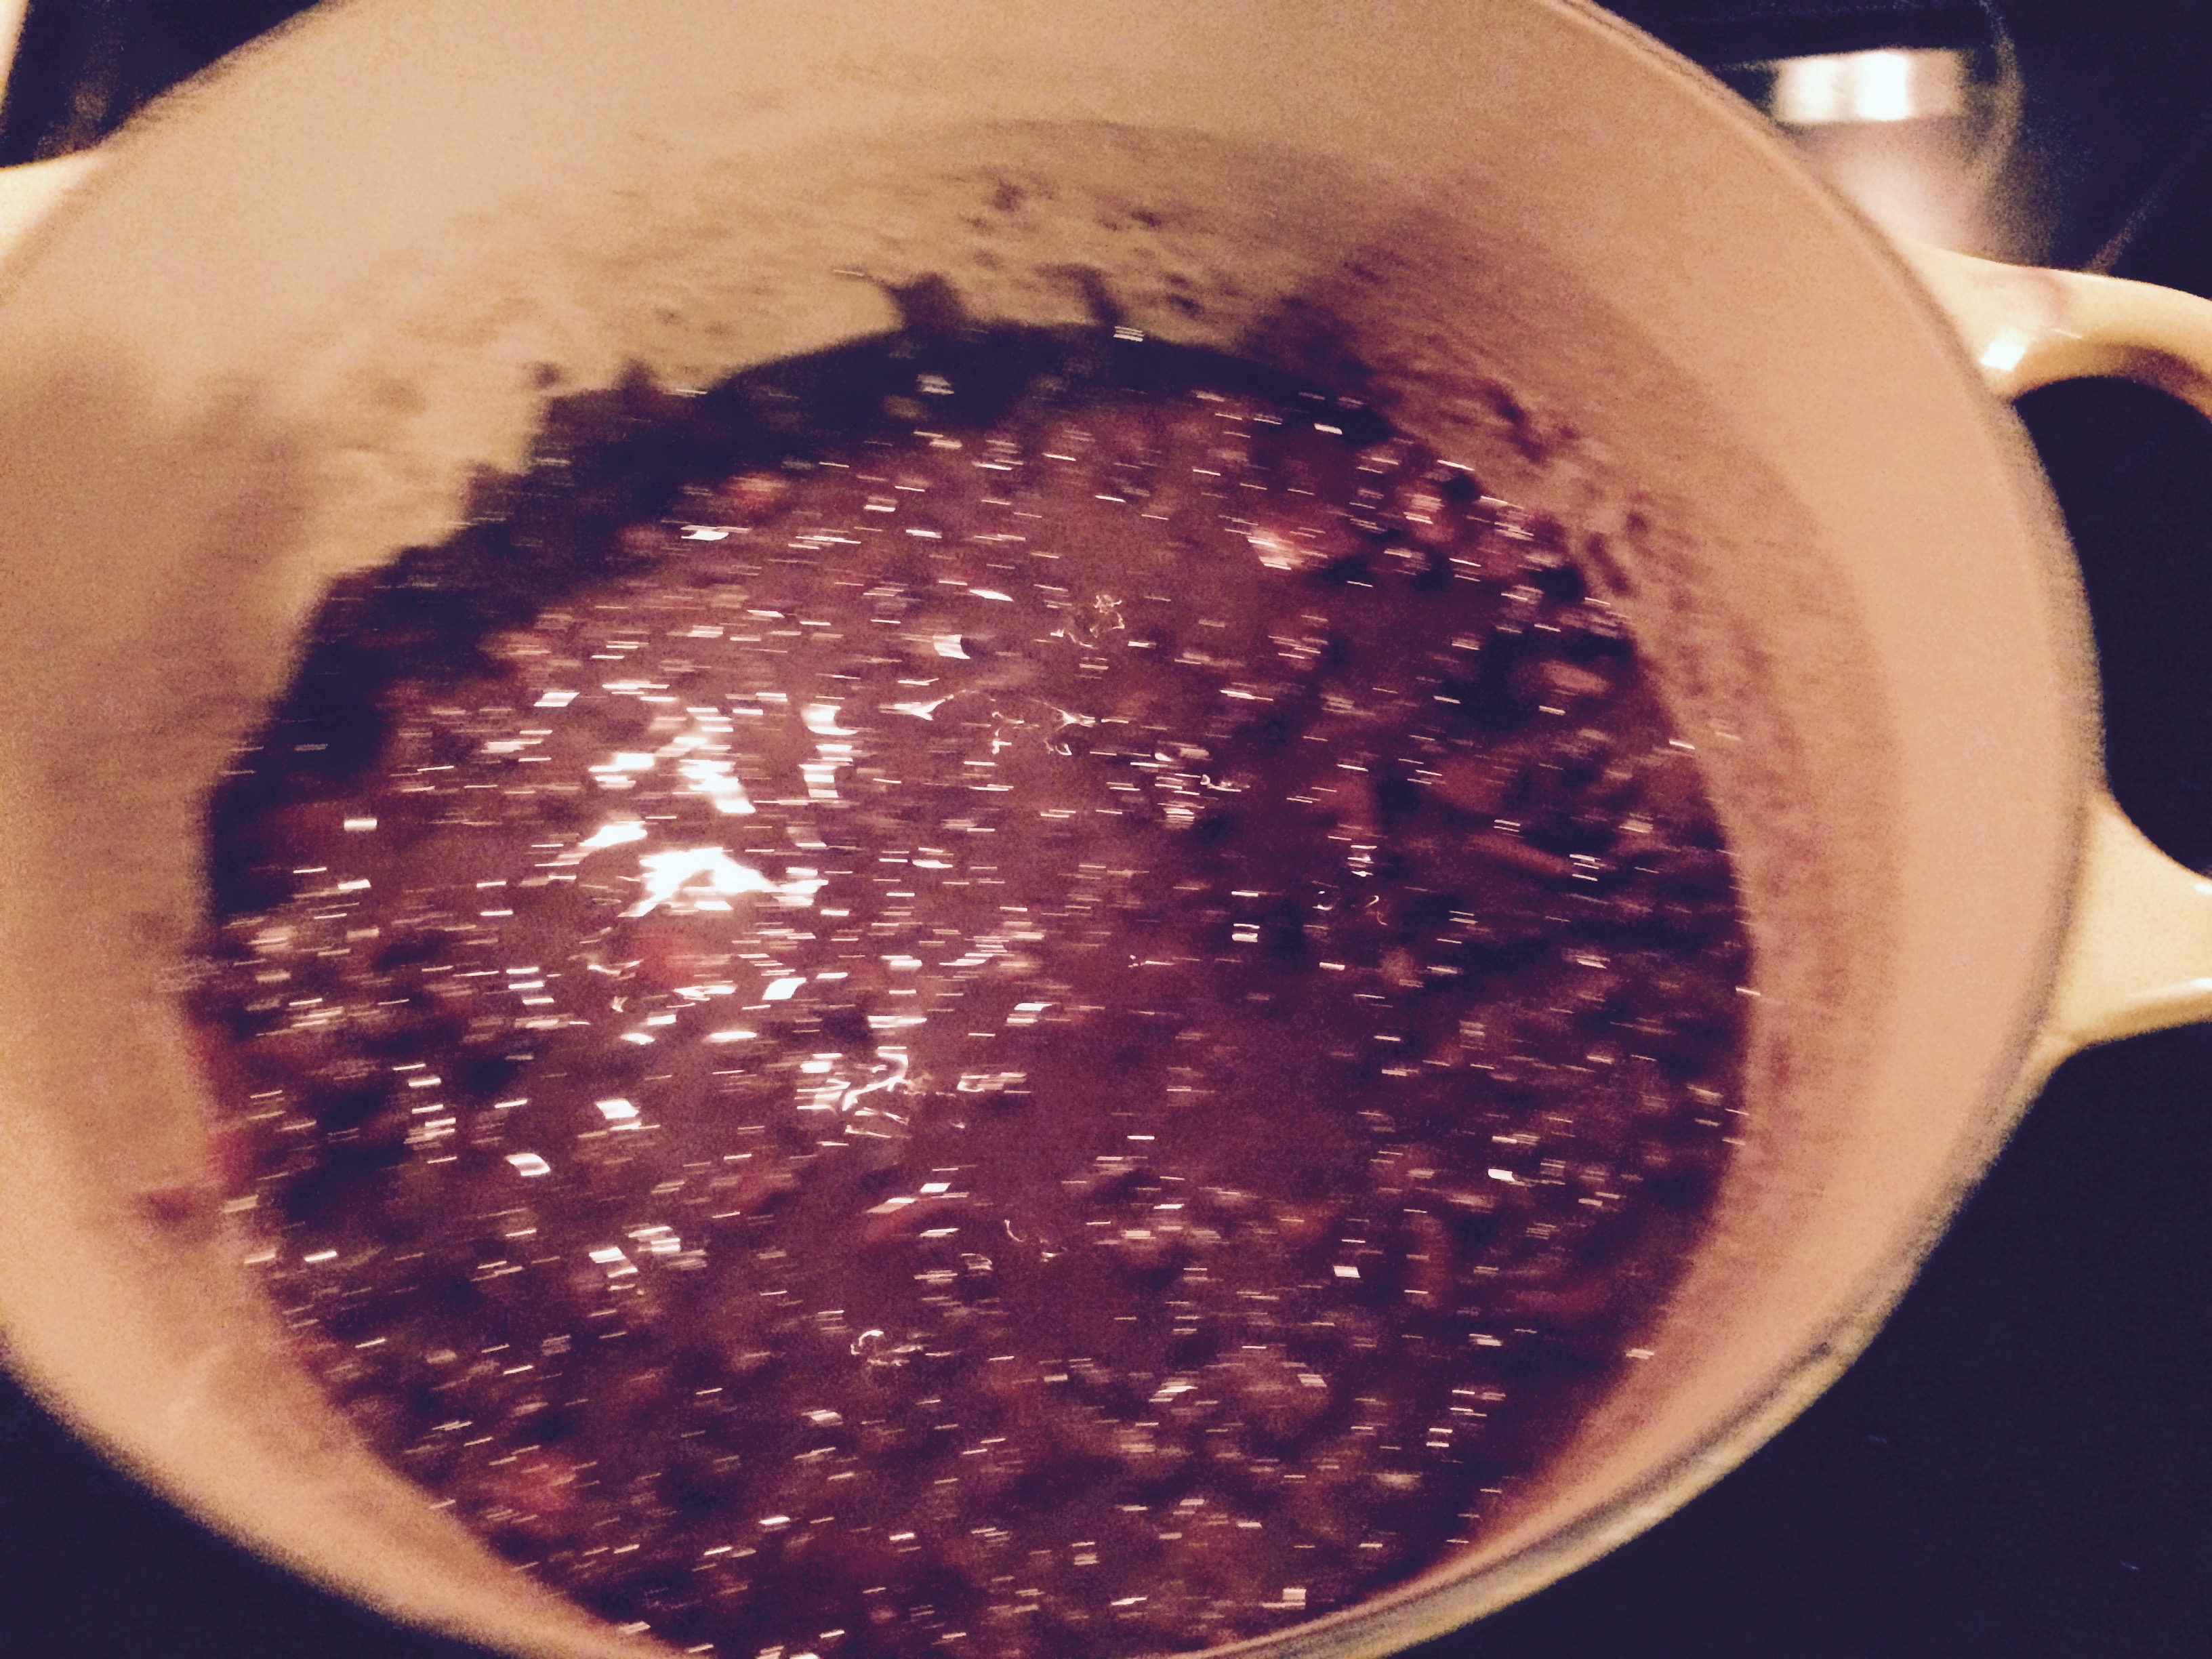
Directions: Add enough water to cover the beans by at least two inches. If you soak beans do not drain the water.  Add all of the remaining ingredients and simmer with the lid off for an hour adding more hot water so that at least an inch remains over the beans.  Stir occasionally.  The Cuban Table suggests to skim the top of the beans for any foam while they cook, but this seemed too fussy for me so I just skipped that part.  After an hour the beans should be slightly tender.  Next you need to stir in the sofrito below.

For the Sofrito

1/4 cup extra-virgin olive oil

1/2 red pepper, coarsely chopped

1/2 large white onion, coarsely chopped

3 large garlic cloves, minced

2 teaspoons kosher salt

1 teaspoon freshly ground black pepper

1/2 teaspoon dried oregano

½ teaspoon ground cumin

1/2 cup dry white wine

1 bay leaf

1 teaspoon sugar, optional

FullSizeRender (19)

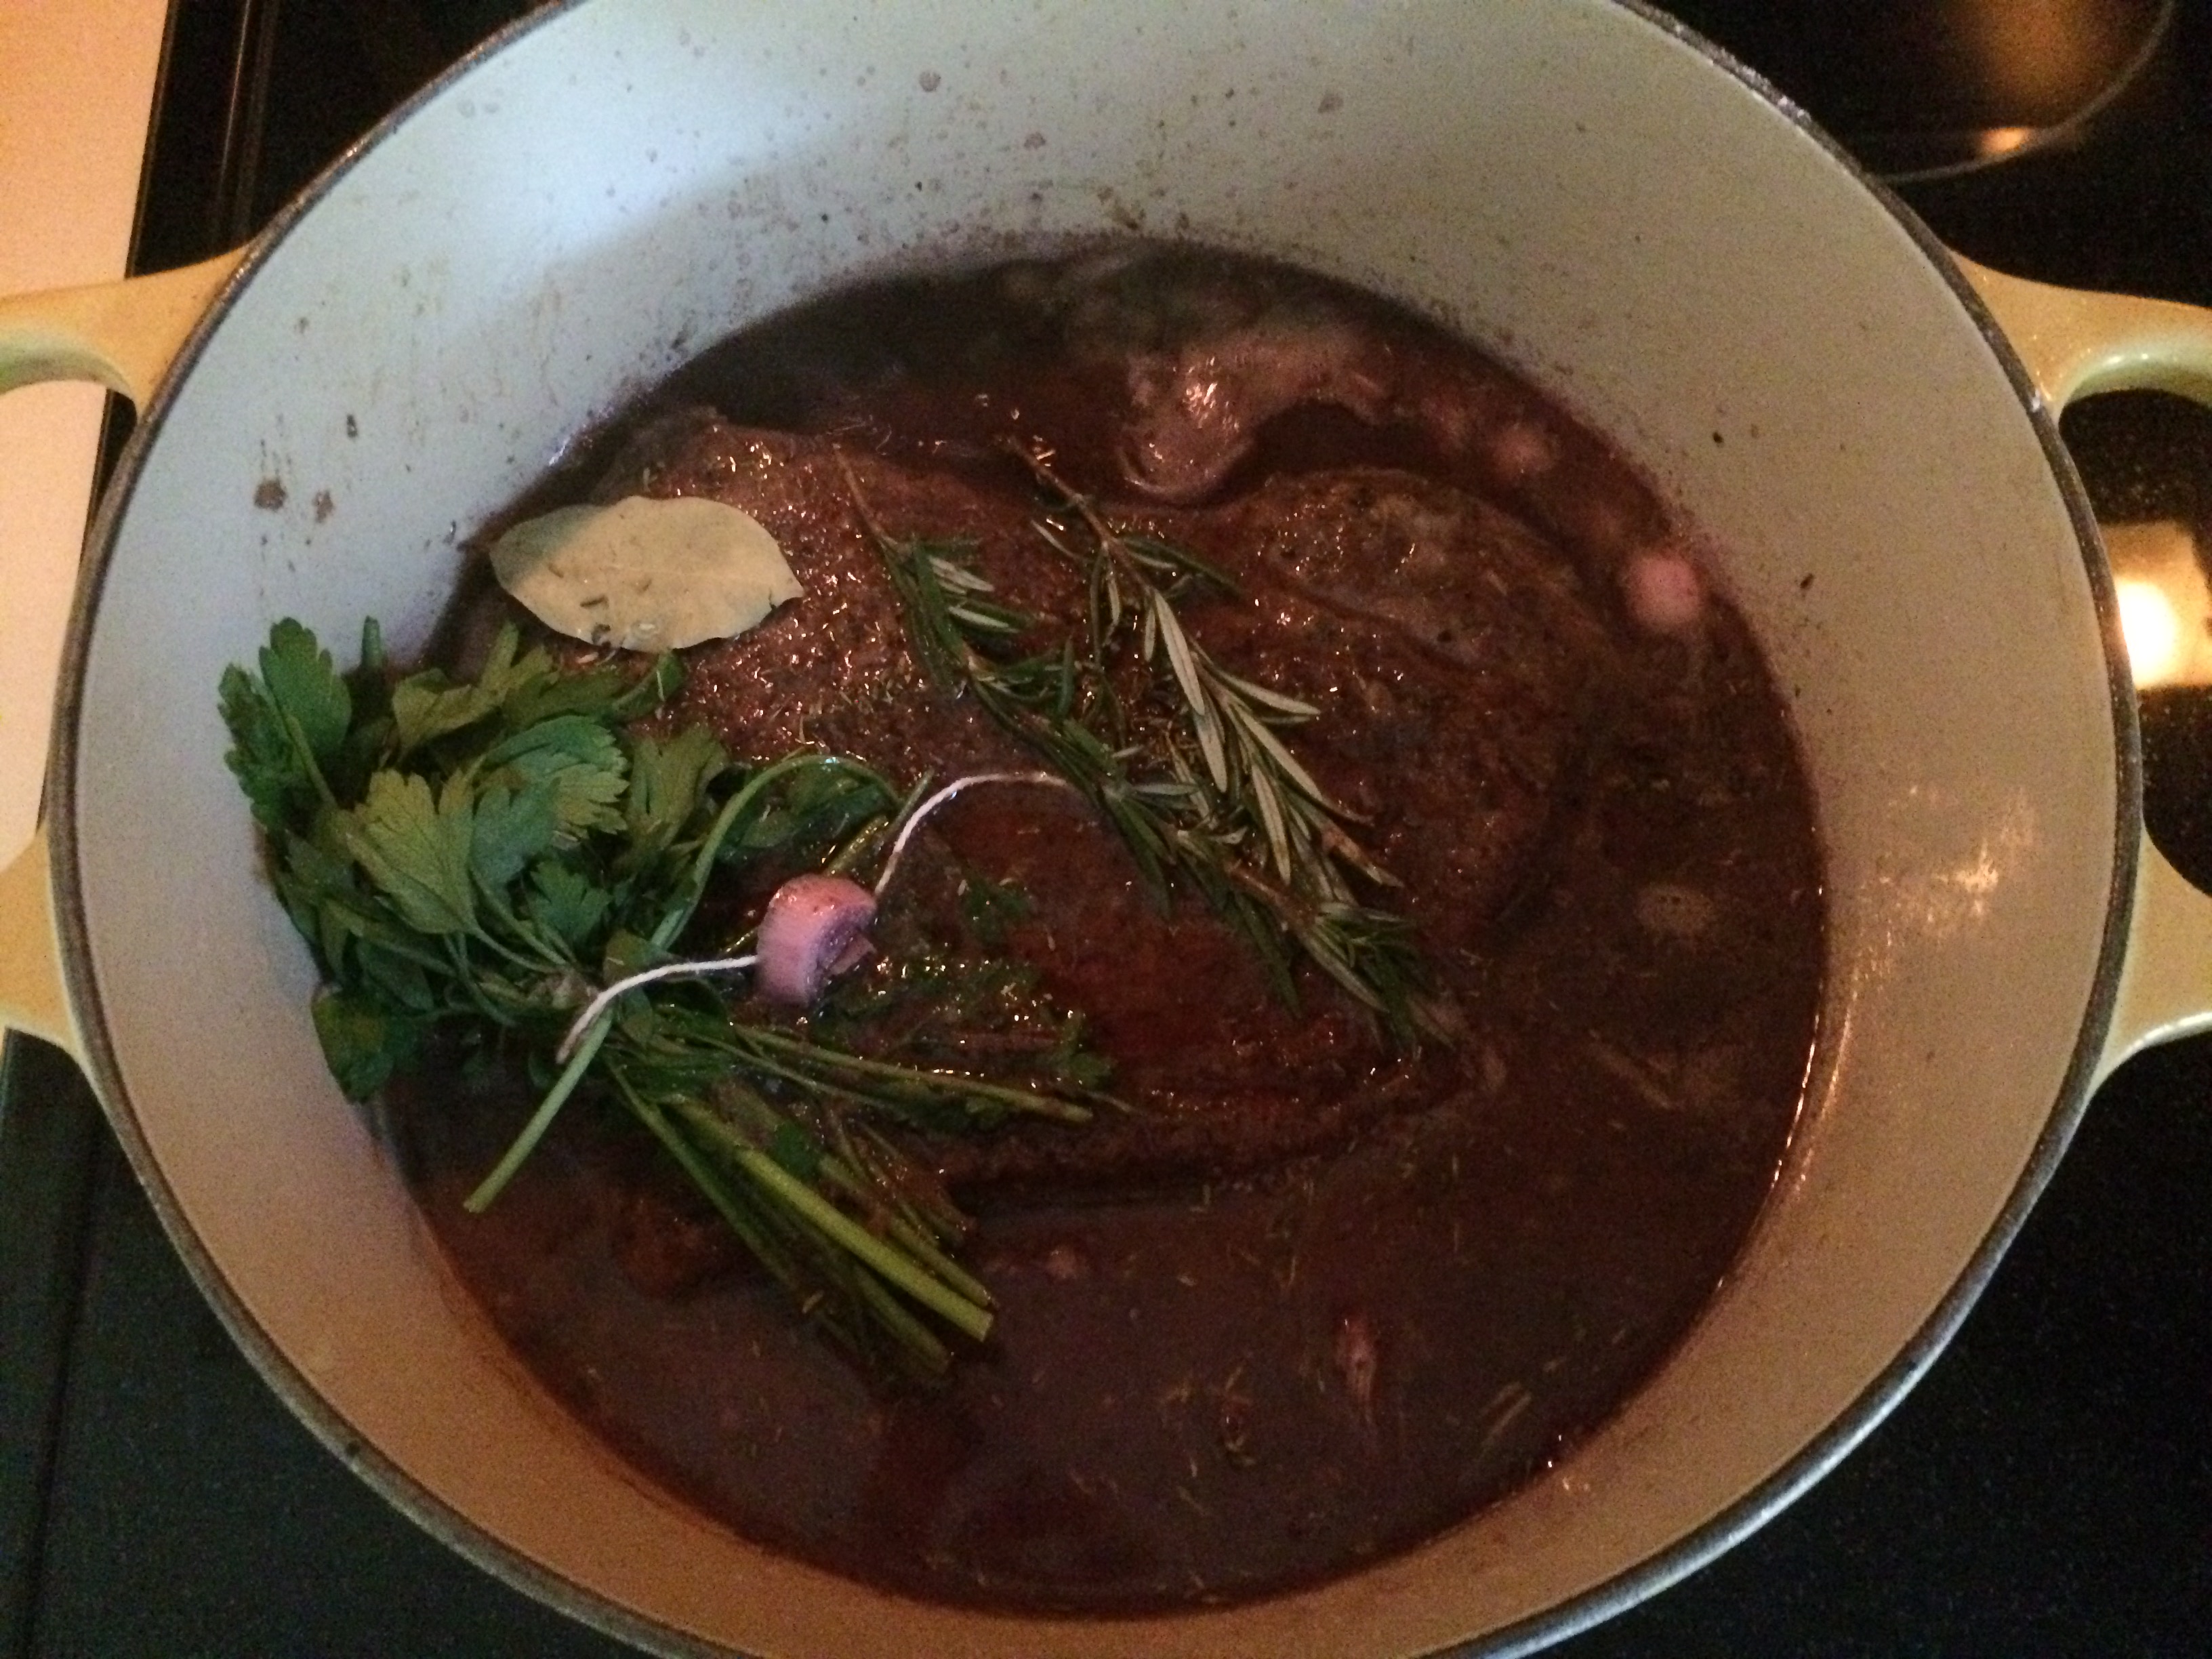
Directions:  Sauté the onions and peppers until tender.  Next add the garlic, salt, black pepper, oregano and cumin and cook one more minute.  Add the sofrito to the beans along with the wine and bay leaf.  Simmer for another hour with the lid on and stir occasionally.

FullSizeRender (18)Image-1 (1)

Fried Plantains

You can buy already ripened plantains at the grocery store.  I just peeled and sliced two plantains in half and then each half in thirds.  I added a small mix of sugar, cinnamon and vanilla to the plantains when they were just about finished cooking, which I did not measure.  I fried the plantains in Crisco until dark brown on both sides.
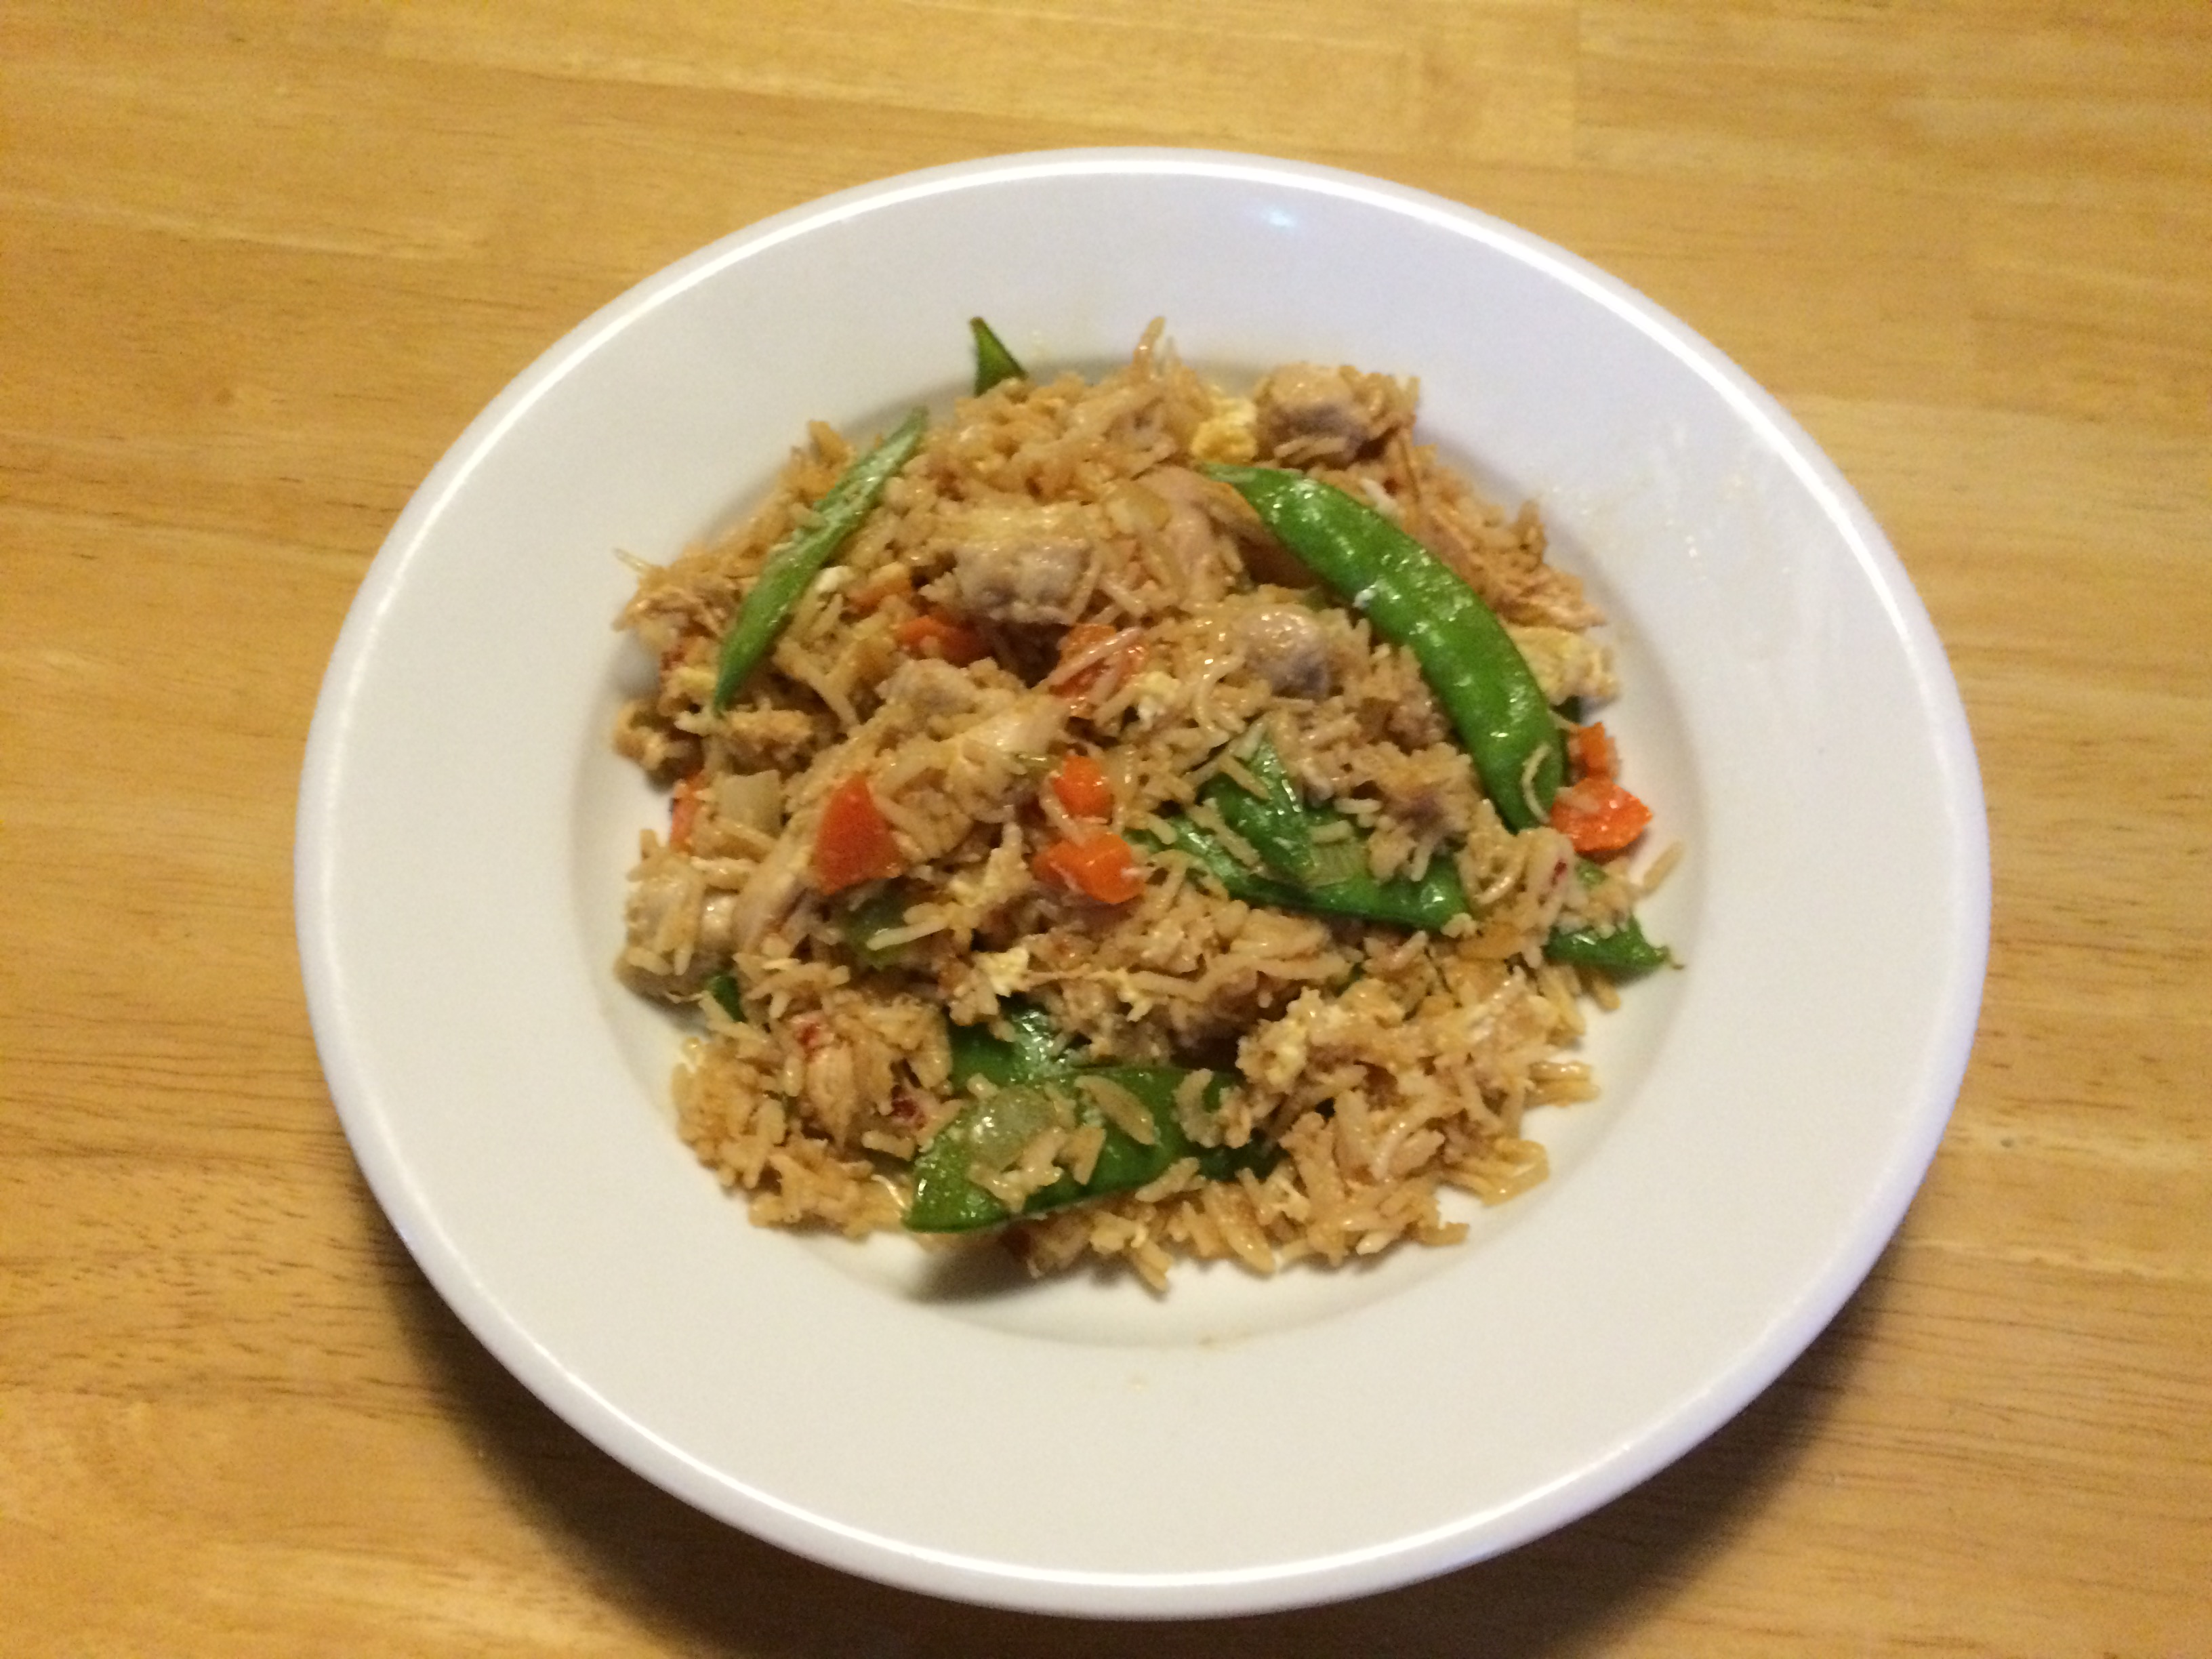
Results

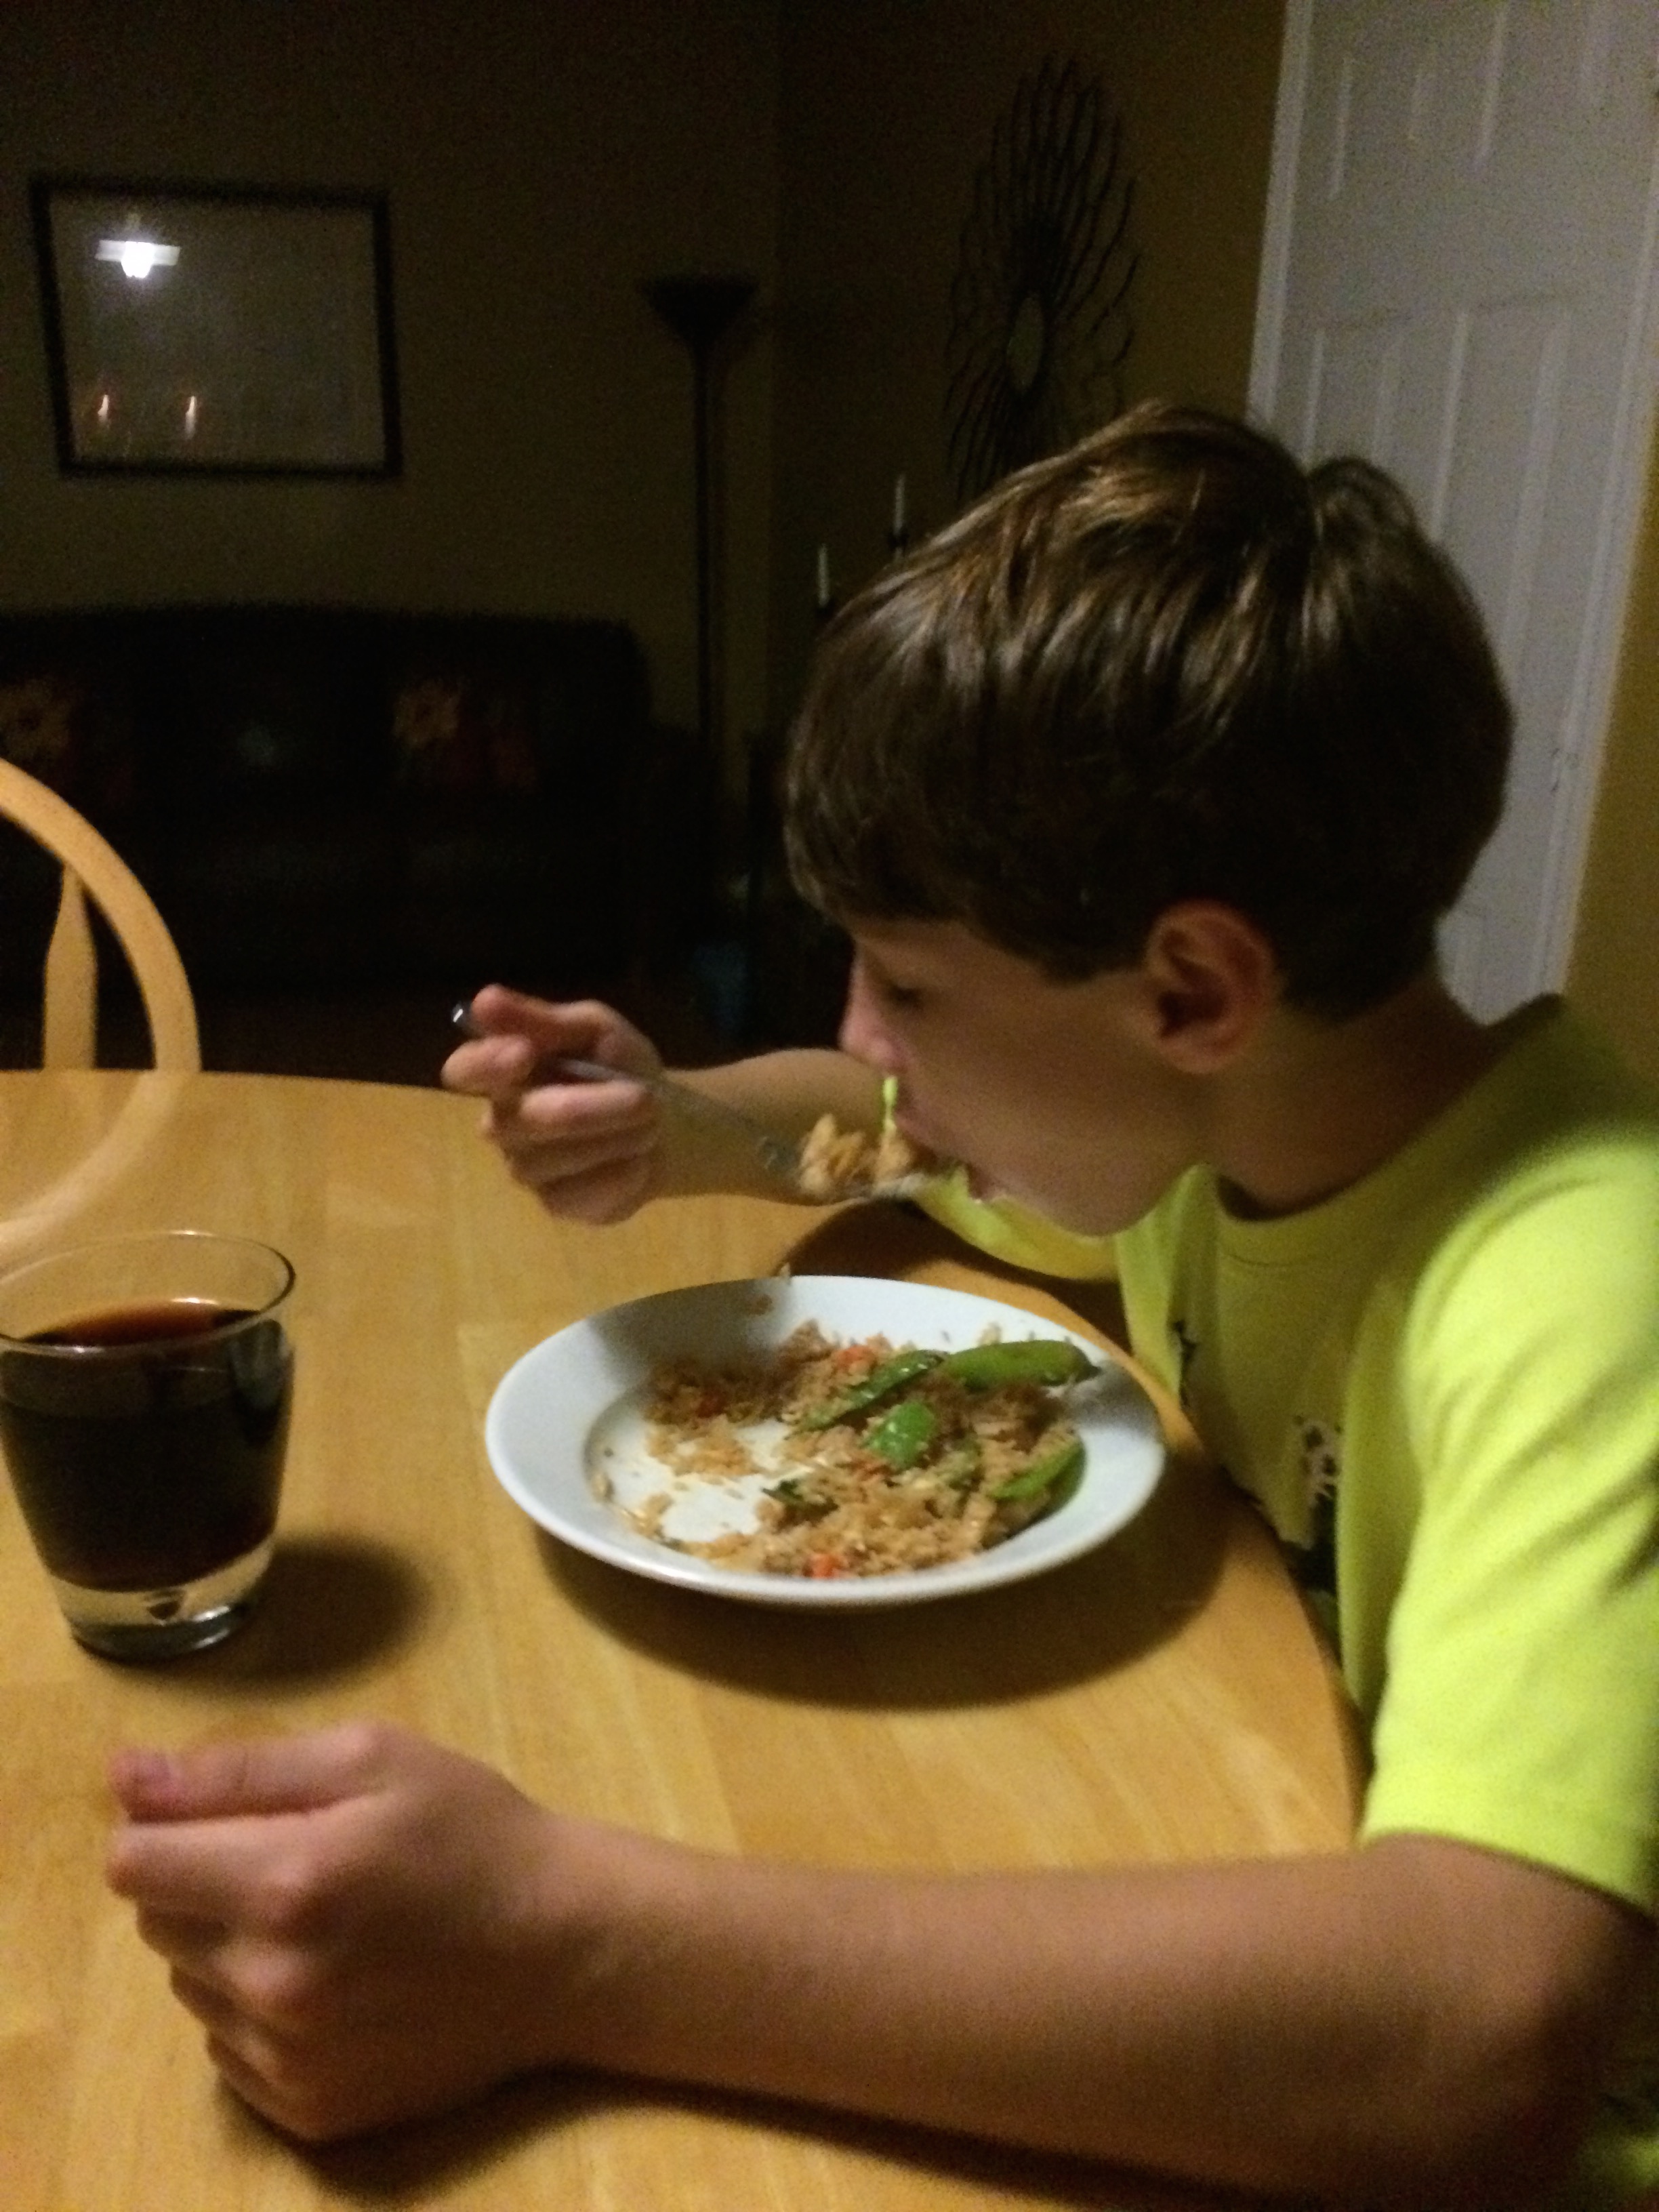
This meal had quite a bit of steps even for me.  However, this was our Sunday dinner so Brent could grill and help with the porky paste.  Everyone thought the pork was really good.  I just didn’t think it had as much flavor as it should for all the effort.  Maybe it needed to marinate longer or maybe a brine overnight first to make it more tender because it was not the least bit overdone.  When considering the effort and all the ingredients I don’t think I would make this one again even though everyone liked it and had no complaints.

The beans were delicious.  Everyone wanted to have the rest for leftovers especially Grace.  This is actually the second time I made this recipe and I knew I needed to keep this one as a standard black bean recipe because Brent-who is no fan of any bean-says they were not only the best I ever made, but that they were really, really good.  This time, however, I accidentally put in too much sugar when I sprinkled some in at the end.  Fortunately, the only person that noticed was me.

I made a few modifications to the original recipe.  First, I only made half the beans called for and so I cut down on the onion and pepper.  Second, I used red bell instead of green bell since none of us like bell peppers, but we really dislike the green ones.  Finally, I did not add the sherry vinegar because I could not find any.

Brent and Grace loved the plantains.  I don’t think Alec was a big fan but he is like me and doesn’t like things too sweet.  I liked them, but I did not think they needed anything added to them.  I am proud though because this is the first time I made good, fried plantains.  I think part of the problem was I could never get them to ripen and probably the Crisco helped since a lot of food in Latin America is fried in lard.

Pot Roast with Roasted Carrots and Mashed Potatoes

We don’t have a lot of frequent repeat meals, but I tend to make pot roast about once a month.  I was always confused growing up because I don’t remember eating “pot” roast, but roast beef, which was a “rump” or “bottom round” roast cooked a certain amount of time per pound and sliced very thin.  My grandparents made this for me whenever I visited and I loved it.  But after many years of overcooking “roast beef” I have come to appreciate the more tender, flavorful and less fussy chuck, which is the cut of beef used in traditional pot roasts.

Ingredients for Pot Roast with Roasted Carrots

2.2 lb. chuck roast

1 scallion roughly chopped  (I would typically use a yellow onion and quarter it)

2-3 cloves of garlic smashed

2 sprigs of fresh rosemary (I would have used dry if I did not have fresh)

1/2 teaspoon of dry thyme flakes (or fresh if you have)

1 bay leaf

1 cup beef broth (I used a cup of beef broth leftover from last month’s pot roast)

1 cup of water (I reserved a cup of water from the mashed potatoes)

1 cup of dry red wine

8-10 peeled carrots with the ends trimmed

fresh parsley

Salt, Pepper and Flour

Dutch oven

*If you don’t have a Dutch oven you can prepare the roast in a skillet and then put it in a roasting pan to braise.

IMG_4595IMG_4598IMG_4601

*Unlike his sister, Alec has always wanted to help mama in the kitchen

Directions

Season beef generously with salt and pepper and dredge on both sides with flour shaking off any excess.  This will make a more flavorful, and hopefully, thicker sauce while it is braising.  On stovetop, heat Dutch oven and add a tablespoon of oil and of butter.  Sear beef on both sides until nicely browned trying not move the meat around until you need to flip it over.  This small roast needed about 3-4 minutes on each side.  I had room in the pan to add my “aromatics.”  Some recipes remove the beef before and then add the onions, garlic, etc, but I just placed them on the side and sautéd for a minute or so before adding the wine. I cooked the wine down for about 3-5 minutes before adding the rest of the liquid; 1 cup of reserved potato water and 1 cup of beef broth.   I also placed a bundle of fresh parsley (only because I had it), fresh rosemary, dry thyme, bay leaf and salt and pepper on the roast.  Finally, I placed the roast in a 325 degree oven for 2 1/2 hours.  I added the carrots after the roast had been cooking for 45 minutes so they would not be overcooked.

IMG_4592

Mashed Potatoes

6 red potatoes peeled and cut into roughly equal size pieces

1/4 cup of whole milk or heaving whipping cream

1 stick of softened or room temperature butter

Salt and Pepper

Directions

Place potatoes in cold salty water and boil potatoes for about fifteen minutes until they fall apart with a fork.  Drain the potatoes and place them back on the burner for a minute or so to cook off any excess water.  Add plenty of salt and pepper, the stick of butter, and milk or cream and mash with a potato masher or beat with an electric mixer.  I like my potatoes smooth and creamy so I use a mixer and may add a little extra milk or cream if needed.

IMG_4603

Results

The meat and carrots were cooked perfectly.  The roast was fall-apart tender and the carrots were nice and soft, but not mushy as they would have been if I cooked them the whole time.  The only complaint was that the roast could have been bigger so we had leftovers for sandwiches.  Still, it was just the right amount for four people who like their meat.   Also, after removing the parsley and rosemary springs (the onion and garlic melted away to almost nothing) the remaining liquid was perfect as a gravy for the mashed potatoes.  On the other hand, I was told that my mashed potatoes could have been better seasoned.  Honestly, I am a salt-aholic and salted the potatoes three-to-four separate times.  I do agree though that they were not the best potatoes I have ever made.  All in all, we enjoyed the meal.  The only real downside is the aftermath in dealing with Brent’s gas (it’s not my fault you fed me beef is his usual refrain)  and unfortunately, I am out of matches!

Pork (and Chicken) Fried Rice

Being able to replicate an authentic Chinese pork fried rice is just not possible, at least in my opinion, especially if you don’t have access to the requisite Chinese BBQ pork (cha siu).  However, it is still possible to make a delicious and satisfying version at home.  I have been experimenting with pork fried rice for years now and have finally “got it down” according to my husband and kids.

While it is best to use cold leftover rice because it doesn’t clump up, if you don’t have leftover rice or don’t feel like making it the day before you can just make it earlier in the day and put it in the fridge for a few hours. I have a rice cooker so making rice is not really a big deal for me since I don’t have to monitor it.

I always make pork fried rice whenever I have leftover pork loin or pork chops.  This time I had two pork chops from dinner the night before.  I included some chicken this time only because I had some left from a grocery store rotisserie chicken I bought on impulse shopping while hungry earlier in the day.  Adding some carrots and snow peas made it a hearty and balanced meal.

IMG_4571IMG_4575

Ingredients

6 cups of cooked rice

1 cup of shredded cooked rotisserie chicken

2 raw pork chops cut up in small pieces

1 small yellow onion diced

2 green onions chopped

1 carrot diced

1 clove of garlic diced

1 cup of snow peas

1 teaspoon of grated ginger

5 tablespoons of soy sauce

3 tablespoons of rice vinegar

1 tablespoon of sesame oil

1 teaspoon of sugar

2 eggs

IMG_4567IMG_4570

*How to prepare fresh ginger.  Cut a small piece off the root and peel with the back of a spoon, knife or vegetable grater and then grate.

Directions

Blend ginger, soy, rice vinegar, sesame oil and sugar in a small bowl and set aside.  Heat a large skillet and when hot add a few tablespoons of oil.  Sauté the diced raw pork for several minutes until no longer pink.  Then add the yellow onions, carrots, snow peas for a few minutes and then the garlic for thirty seconds before slowly adding the rice.  You may need to unstick some of the rice with your fingers before putting it in the pan. Next, toss in the scallions and chicken and add the liquid-soy mixture.  After combining thoroughly the soy mixture and making sure the rice is nice and hot, the final step is to scramble the eggs.  Push the rice over to one side making room to pour the beaten egg mixture; cook quickly and stir through the rice.

IMG_4578IMG_4585

*Yes, Alec is drinking Coke, but only because it was leftover from his birthday party

Results

Everyone thought the rice was fantastic.  Alec had two bowls and was going for a third until I had him reconsider.  I thought it was delicious-though maybe not the best I ever made-but very tasty.  A few things I would reconsider for next time.  For one, even with the largest skillet I own it is still not quite big enough for all of these ingredients.  Either I may consider purchasing a wok or cooking the ingredients separately (for instance, the meat, the vegetables and the rice) and then combining them.  Also, I want to continue to experiment with the soy mixture.  A typical fried rice has a combination of soy and something to balance the saltiness like honey, sugar, hoisin sauce, oyster sauce, etc.  I usually use a mix of soy, hoisin, and sugar though this time I found a recipe that used rice vinegar so I tried that instead with the soy and sugar. Even though both worked well,  I am not ready to settle on the soy mixture because I think it could be even better.

Bacon and Kale with Vodka Sauce over Rigatoni

Image-1 (5)

I had some leftover kale and some leftover bacon and decided they would go well together in a pasta dish, which we eat about once week.  I was in the mood for a creamy sauce so I made a vodka sauce but with less tomatoes, which I served over rigatoni.   A traditional vodka sauce is heavier on the tomato versus the cream.

Image-1 (3)

Ingredients

Roughly chopped kale (this was about four cups)

Diced bacon (this was about four-five pieces)

1 14 oz. can or box of tomatoes

4 cloves of garlic diced

1 shallot chopped

1/4 cup of parsley chopped

1 cup of heavy whipping cream

1/4 cup of vodka

1/2 cup chicken broth (not pictured)

1/4 teaspoon of red pepper flakes

Salt and Pepper

1 cup parmesan plus extra for topping

Directions

I sautéd the bacon and then set it aside.  This dish is fattening enough so I dumped the bacon grease (yes, you can pour it right down the drain) and cleaned the pan.  I added about 2 tablespoons of butter and a splash of olive oil to the pan after it was heated and sautéd the shallots for a few minutes before adding the garlic for thirty seconds.  Then I added the kale, vodka, chicken broth, tomatoes, salt and pepper, and red pepper flakes and simmered for about ten minutes.  Finally, I added the cream and simmered for a few minutes and then added the cooked pasta, which I topped with the parmesan cheese, fresh Italian parsley and bacon.

Image-1 (6)

Results

We love pasta with greens and it was even better with a little bit of bacon.  The only major complaint was that the vodka taste was too strong.  I saw various recipes add the vodka along with the tomatoes and then simmering them together, but I should have stuck with what I know when cooking with alcohol and added the vodka first and cooked it down before adding the other liquid ingredients.  I have to admit it was way easier to waste the vodka on this dinner than it is with wine since I don’t drink vodka.  Also, there is typically no chicken broth in a vodka sauce, but I am in the habit of adding it to all my sauces because it adds more flavor.  Overall, a yummy, though very fattening, dish!

Salmon Burgers

Like shrimp (see previous post), one of the main obstacles for me to cooking more fish and shellfish at home is the cost and quality.  Costco is where I typically buy fish, but it is not the most convenient location for me, and even there I find that the salmon or tuna is often hit or miss.  I was pleasantly surprised then to find a frozen salmon fillet at the local Shop Rite that was quite tasty-in other words-not fishy.  I asked my husband, Brent, to pick up a bag one day and he brought home a different package of individual fillets.  I later found out they stopped carrying whatever brand I had been buying.  As expected, the salmon did not taste very good.  Still, I had half a bag left and did not want to waste it so I decided it might make a good salmon burger.  The recipe I more or less followed is from the food network and can be found at the following link: http://www.foodnetwork.com/recipes/food-network-kitchens/perfect-salmon-burgers-recipe.html

Ingredients

4 salmon fillets (approximately 1-1/4 lbs.)

2 tablespoons dijon mustard

1 tablespoon mayonaise

1/2 juice of lemon

Pinch of cayenne

2 green onions diced

1/2 cup of breadcrumbs or panko

Salt and Pepper

Image-1

Directions

Reading various recipes I found that most recommend making a paste of part of the salmon so the burgers bind together while dicing the rest so that the burgers stay moist.  I roughly chopped two fillets and put them in the food processor.  To that I added the mayo, mustard, lemon juice, cayenne and salt and pepper and pulsed until paste-like.  Then I placed the mixture in a bowl and added the diced salmon of the remaining two fillets along with the green onions and breadcrumbs.  I formed the salmon mixture into balls more resembling crab cakes (rounder and fatter) than traditional burgers.  Brent grilled the salmon burgers about four to five minutes per side.

Results

The burgers were delicious, at least according to Brent and Alec. Grace was not home and annoyingly does not like fish.  I thought they were tasty and I definitely would make them again following this recipe or something very similar, but with better quality salmon.  Brent said they held together well while cooking and they were both flavorful and moist.  I found I did not need as much breadcrumbs as the food network recipe called for. I also find it tedious to measure lemon juice by tablespoons so I just squeezed in a half of a lemon instead.

Spicy Chipotle Shrimp

I always have more shrimp recipes I want to try than I have shrimp on hand for several reasons.  One of the primary reasons I don’t eat shrimp more often is that it is just too pricey and my kids and hubby are not going to be happy with just a few (or four or five) shrimp a piece.  The second main reason is that I have heard and read a lot of negative things about the quality of shrimp we eat in this country.  See the following Consumer report if you want to be grossed out.

http://www.foodsafetynews.com/2015/04/consumer-reports-tests-find-60-percent-of-frozen-shrimp-contaminated-with-bacteria/#.VfDOlWRViko

Still, I don’t want to give it up completely, but for years now I have found that I don’t like that taste of most shrimp, which I realize now is imported.  Based on reports and my own experimentation,  I can say for certain I won’t be buying any shrimp from Asia or Latin America (save Argentina) anytime soon. Lately, however, I have been buying Texas Golf Shrimp and though it is pricier, it actually tastes like good, fresh shrimp!  One way to make sure you are buying decent quality shrimp is to see if it is BAP (Best Aquaculture Practice) certified.  For more information see  http://gaalliance.org/marketplace/consumers/

Finally, this is the recipe I tried last night-a quick and healthy shrimp dish that was perfect for a school night. This recipe comes from Food & Wine’s February 2015 issue.

Ingredients

1 1/4 Jumbo Golf Shrimp

1 can (14.5 oz) diced tomatoes

1 chipotle in adobe minced (a small can of peppers in sauce that can be found in the Mexican/Latin section of the grocery store; leftovers can be stored in a container in fridge)

1/4 cup diced red onion

1/4 cup diced pineapple (canned or fresh)

1/4 cup minced cilantro (or less if you prefer)

1 tbsp of tequila

Salt and Pepper

FullSizeRender (16)

Directions

Peel and devein shrimp.  The fact that it needs to be peeled and has “veins” also ensures that it is more flavorful.  Pat shrimp dry and salt and pepper.  Sauté red onion over medium heat for two minutes.  Add the can of tomatoes and more salt and fresh ground pepper and cook for three to five minutes.  Add the shrimp and cook for approximately five minutes until you no longer see pink though be careful not to overcook.  It is easy to overcook shrimp, which makes them tough and chewy, and then you get yelled at by your family.  Add the pineapple, cilantro and tequila.  Heat through and serve.  I served my shrimp with yellow rice and roasted green beans, but was thinking the shrimp could also be served like a taco.

IMG_2938

Results

As I mentioned this recipe was quick and easy.  The only thing that is a bit of a pain is the peeling and deveining of the shrimp so feel free to buy the pre-peeled if you don’t have the time or desire to slit each little backside and scoop out the slimy, stringy “poop chute” or “sand vein.”  Deveining, in any case, is a personal preference.  Some claim it affects the flavor while others do not, but there is no health or hygiene reason for deveining.

The shrimp was a hit!  The flavors worked very well together and it was spicy, but not too spicy.  I would say maybe the tequila is not even necessary if you don’t have it on hand. While my kids love spicy food, they did not like the hunks of onion, and pineapple so for them it was more of a flavoring, rather than part of the meal. Would I make this again? Maybe someday?  It was really good, but like I said I have so many shrimp recipes and so few shrimps.